Another sketchbook decorated with vinyl and a fashion silhouettes freebie

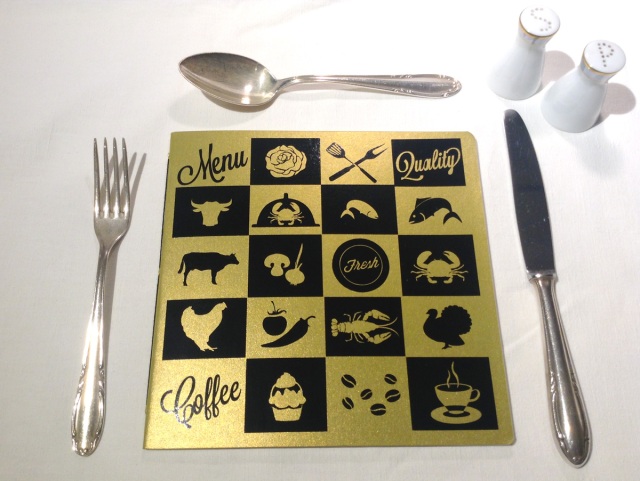
Ok, I admit it, I did not buy only one notebook, but a couple of them. I just love the square format. It is great to decorate them.

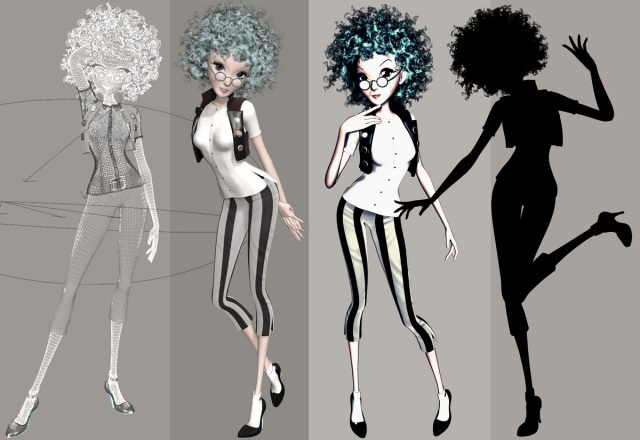
This time I made some fashion silhouettes in my favourite 3D program PoserPro, which I unearthed and upgraded lately to the newest version (see the image at the bottom of this post).
At the bottom you can also download the silhouettes file for non-commercial purposes from my dropbox. Have fun!

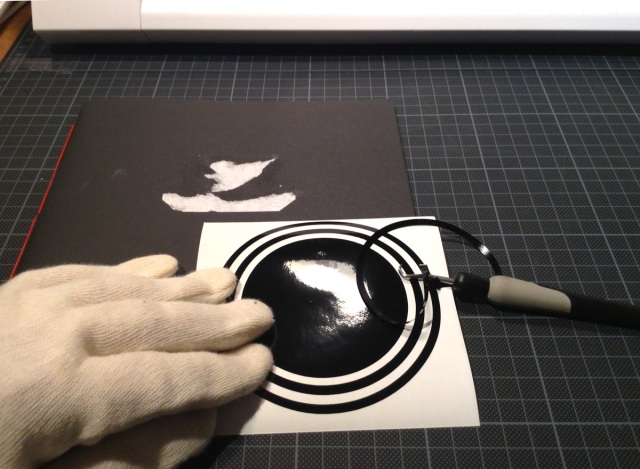
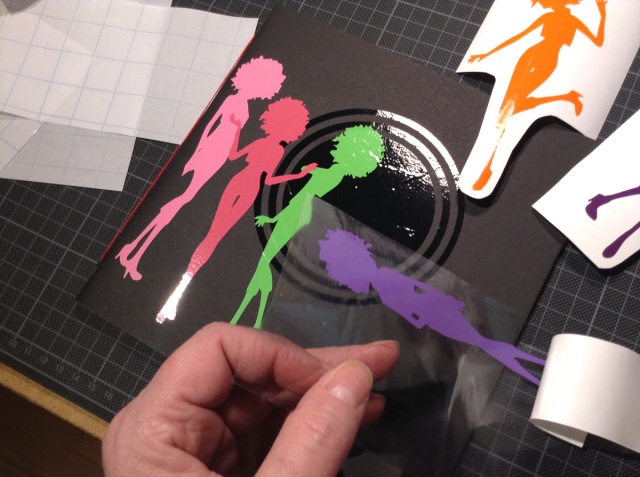
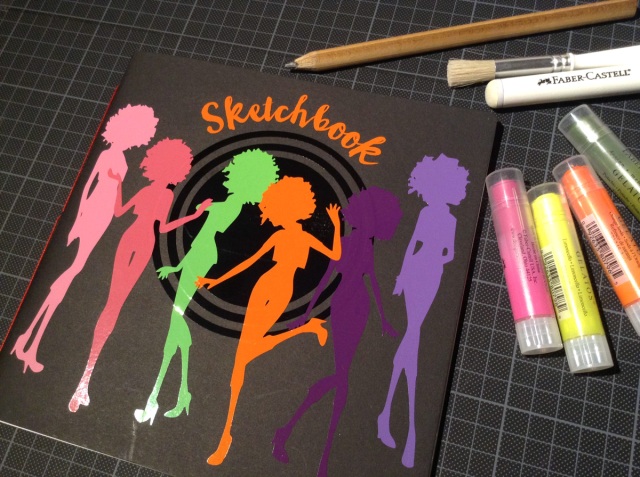
I was not able to remove the label from the notebook properly, so I cut and applied a circle from black vinyl to cover the ugly parts.

fashion-sketchbook  fashion-sketchbook2

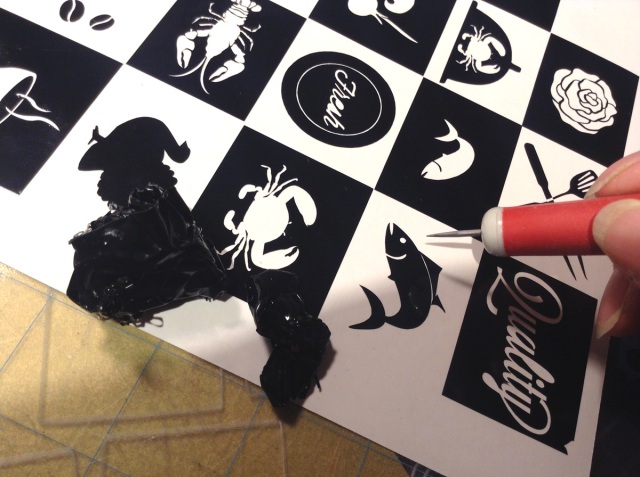
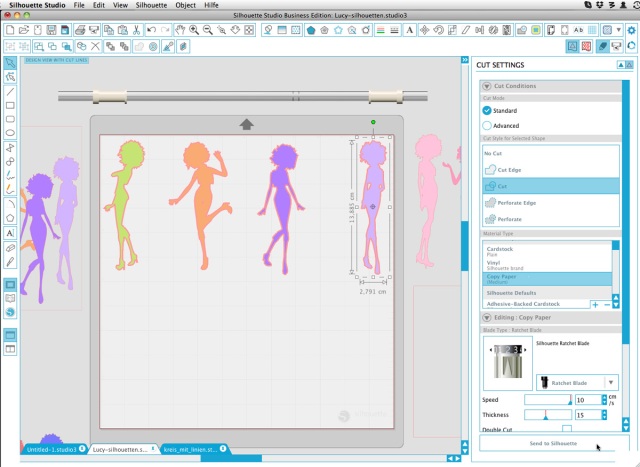
Then I prepared my silhouettes by coloring and arranging them in the color of the final vinyl on the screen in Silhouette Studio®.

fashion-sketchbook3

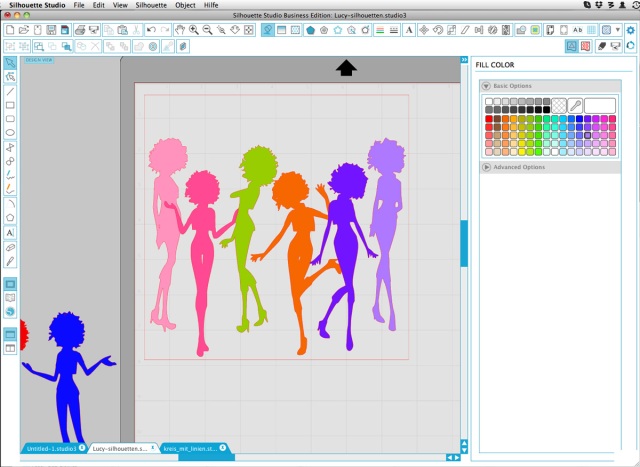
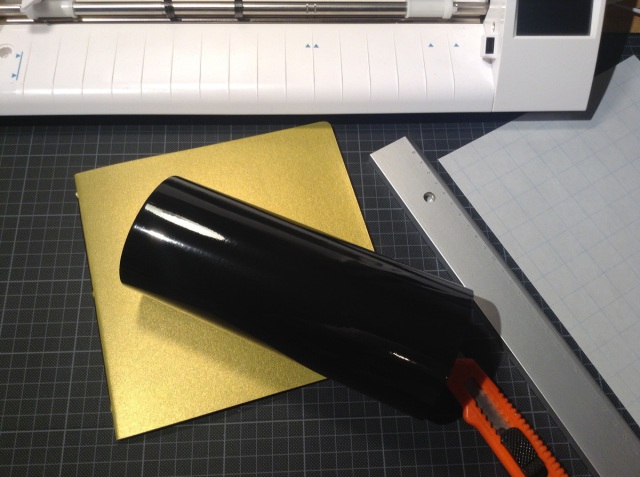
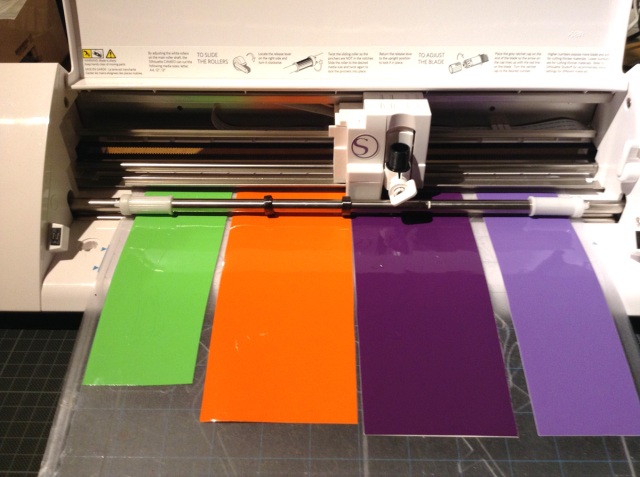
Then I moved them to the right positions, that it fits the vinyl on the mat and cut the silhouettes in two rounds with the Silhouette Cameo.
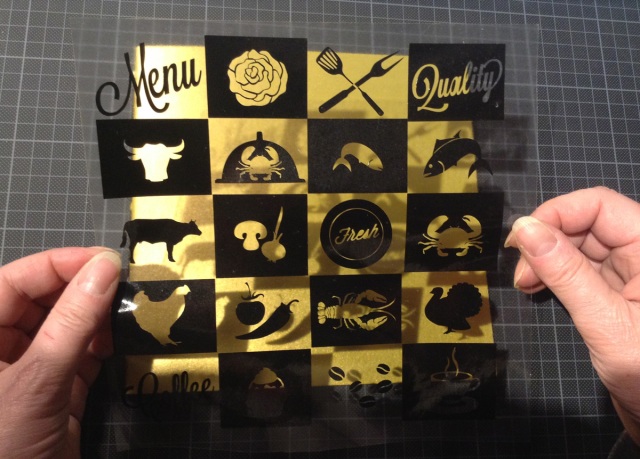
For this project you can easily use left over stripes from other projects.

fashion-sketchbook4 fashion-sketchbook5

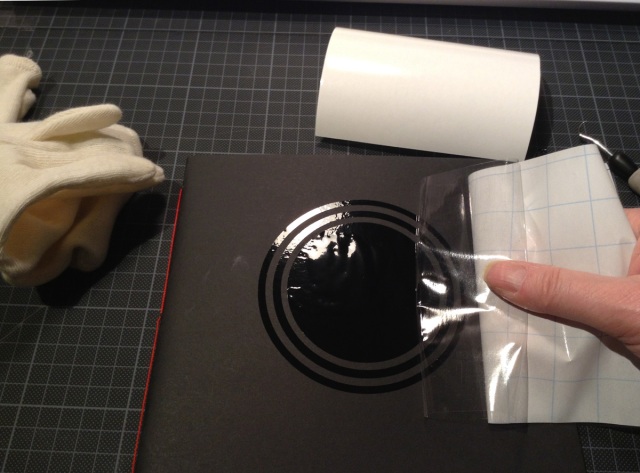
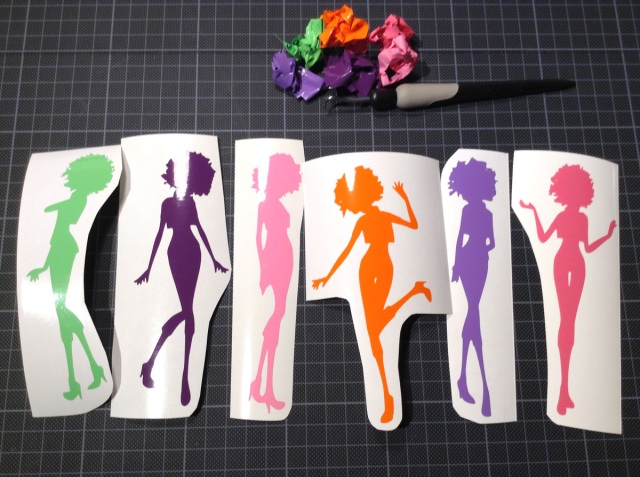
I weeded the silhouettes and applied them to the notebook with transfer tape.

fashion-sketchbook6 fashion-sketchbook7

Then I cut and added the word: Sketchbook and done.

fashion-sketchbook8

This is how the Silhouettes were created:
the little figure was styled, dressed and posed in a 3D program called “PoserPro11”.
From the rendered images I created the black and white silhouettes.

You may download and use the silhouettes for non-commercial purposes here:
FRF-Lucy-silhouettes.studio3

making_of_silhouettes

A book for a cook – black glossy vinyl on a golden notebook

When I saw these matte golden notebooks as a double pack in the crafts shop last week I had to have them. They are bound with a thread instead of metal clips, beautifully, and you can never have enough notebooks!

Today I made a gift for a hobby cook with decorating one of them with a very detailed design (an altered graphic from a vector design collection) from black glossy vinyl cut with the Silhouette Cameo.
It was not an easy job, because the lines of the text are very thin. But in the end it worked and I love the result. The vivid contrast between the high glossy vinyl and the shimmering gold is hard to show in a static photo.

cookbook

For those who are not familiar with cutting vinyl I list the steps below:

You need a blanc notebook, a piece of vinyl and matching transfer tape and of course your cutting machine.


cookbook1

First you prepare your design in Silhouette Studio.
Watch your cut lines the motifs not to be too thin and that all overlapping parts are weld.

cookbook2

Put your vinyl on the cutting mat.
For glossy vinyl I use cotton gloves to avoid having finger prints on the material.

cookbook3

Cut the design.
I used blade length 1 (I never trust blade length 1, but indeed it worked) and thickness 10.
If you are not sure make a test cut.
Then weed all the parts around your design, that have to go off with a hook or pick.
This took the most time.

cookbook4

Carefully put the transfer tape onto the right side of, on top of your vinyl.
Then remove the backside of the vinyl.
Then place your design onto the notebook and fix it by rubbing over the transfer tape. You can also use a scrape, but I personally prefer to use my hands for this.

cookbook5

Then carefully remove the transparent transfer tape by dropping it to the side (not upwards!)
You can rub again with a cloth over the finished book to make sure all parts are sticking well.
Have fun to make your own personalized notebooks!

cookbook6