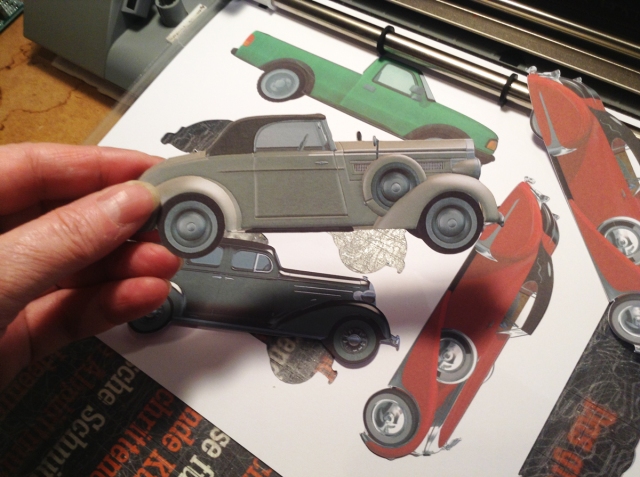
I tried the PixScan technology and my new pixscan mat lately for cutting a failed print and cut job. This is so cool!
It happens often to me and I find it a pity to throw away a whole printed page just because it is not possible to cut it with my Cameo due to registration marks errors.
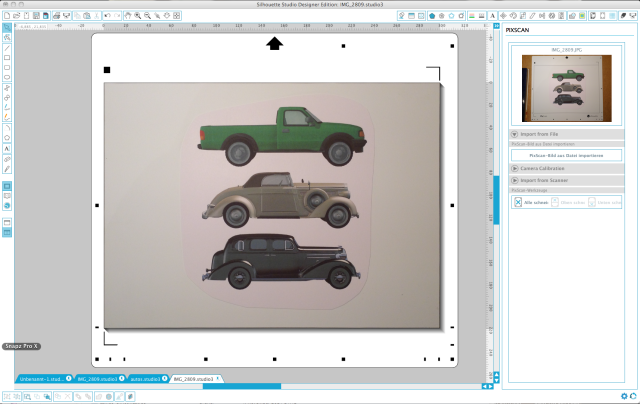
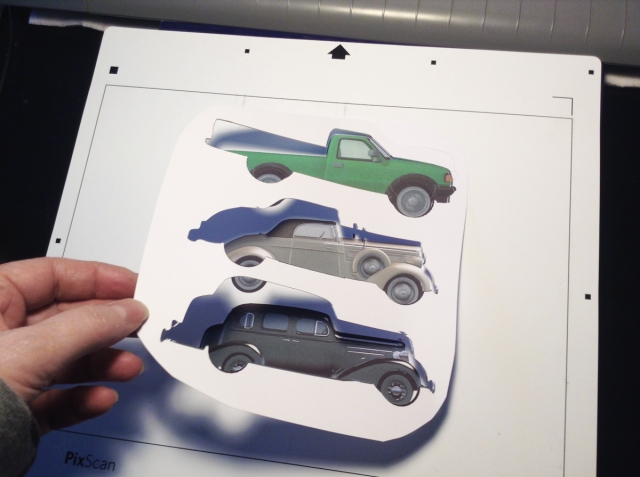
So now I just put the page or parts of it on the pixscan mat and take a picture.
I fire up SilhouetteStudio, import the pixscan pic and copy the traced shape from my former print and cut project.
Then I cut it from the pixscan mat and done.
Another big advantage of the pixscan mat is, that there is a much bigger work space than with print and cut, very handy if you want to use the maximum size for your prints.
Enjoy the holidays with your beloved ones.
Merry christmas to everybody!
I just want to show them, my german pop-up cards cut with the Silhouette Cameo. If you like and use german greetings you can download the cut files from my german blog if you want:
Time for gift packaging!
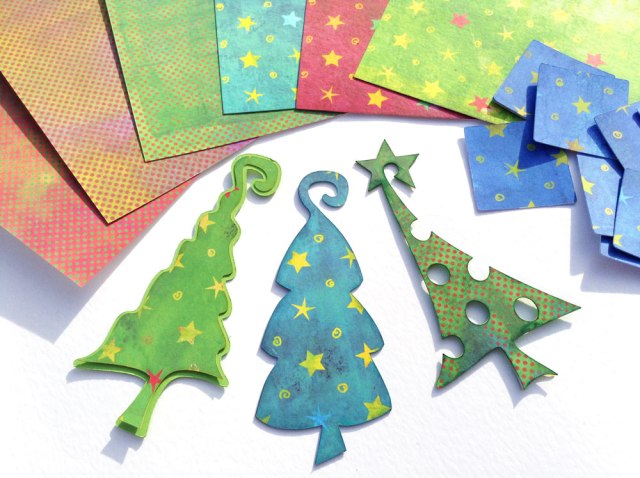
These pretty christmas tree boxes are created by me. They are perfect for jewelry and other small gifts.
They are available as cutting files, but also just as printables to be cut by hand with a scissors.
But this is mainly a tutorial for Silhouette Cameo users to show how to print and cut .dxf files and hide the cutting lines from being printed. You can use this tutorial for any .dxf file.
This way you can easily create the print and cut files with the basic version.
I do a step by step tutorial here that hopefully gives you a guide through all the steps and helps to use my and also any other dxf files with .jpg or .png images.
With Silhouette Studio, your cutter and your various printers there are a lot of different custom settings possible. So it might look different on your screen and on your system. There are also different ways to do things and this is just how I do it.
If you got a questions or you are totally stuck with something just add a comment here or contact me by email.
I will try to help as good as I can.
1. Open your .dxf file in Sihouette Studio. Adjust the page to your paper size
2. Merge the image (.jpg)
3. While the image is still selected go to the scale window and scale down the image to approx. the page size.
4. If the image is gone now, don’t worry, go to “Align” and center the image to page. There it is again.
5. Now the cut lines are gone! You get them back with sending the image to the back.
6. Now activate the registration marks and adjust the image to the cut lines, that all cut lines are inside the cutting area. The registration marks mark the maximum cutting area. Watch, there is a small bleed on my file.
7. If you don’t want to see the cut lines printed you have to make them transparent now.
8. Now you print your page. Please take care that the page settings is set to 100% and also your printer settings are matching the page size and is set to 100%. It can be a bit tricky to find the good settings. Mine has so many options. So I created a printer preset in my printing menue for print and cut after I fiddled out the perfect settings. Best you first do a test print and cut on cheap paper.
9. It happened to me, that the transparent lines didn’t cut. So now you have to color them again. One nice trick is to make them the color of the pattern with the eyedropper tool. So if you save the .studio file for later you don’t have to think of transparency anymore.
10. Now go to the cut menue, select all and set it to “cut”. Then the cut lines will show up red.
If you haven’t done it yet now save your file as a .studio or .studio3 file for later use. Then adjust the cut settings to your material, load the mat with your paper and send to the cutter.
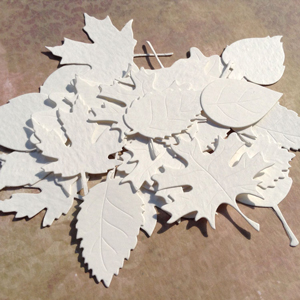
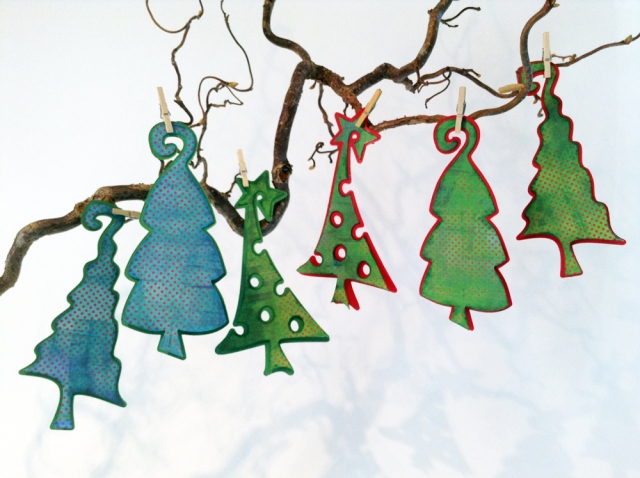
Natural christmas and winter gift tags made from my printable spirograph paper printed on structured card stock.
The tag shapes I made in Silhouette Studio. You can get the cut file as a freebie from my previous post.
The embellishments are a wild mix of die cuts and machine cut elements I store in transparent candy boxes sorted by theme.
Last weekend I’ve been invited to a crafts trade show “Kreativ Tage Berlin” to show the making of my designs I create with the Silhouette Cameo. This was a wonderful chance for me to go in public and to meet users in my own region and I never expected there were so many!
The host company Kreativplotter.de gave me a brand new Cameo to play with so I could try the new touch display. I directly fell in love with the “repeat job” field, so simple and I need this all the time. The new USB slot is very handy while the SD card was a bit little and old fashioned. Apart from that and a new look the machine is almost the same. I don’t think I am going to replace the one I have as long as it is working well.
But I looked at all the Silhouette material I’ve never seen in real and at techniques I’ve never used like cutting fabric, heat transfer, vinyl.
And after I got a presentation of how the pixscan works and what you can do with it I HAD to HAVE a pixscan mat! What a cool thing!!!
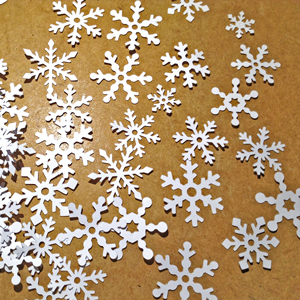
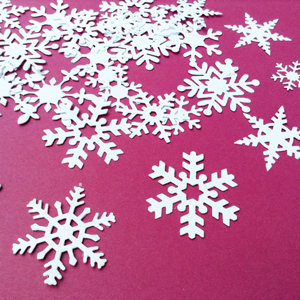
I made a lot of new things for the fair and some files in Studio especially for this event like these snow flakes.
It is one page filled with snow flakes of different shapes and sizes. They are cutting very well with white card stock even if they are small.
You just click to download here: snow flakes .studio file
It looks as if I will have more german followers now. So I started to create another blog in german language. There are not too many informations and tutorials for the Silhouette software and machines in german so I plan to focus on Silhouette related things and tutorials more while I focus on artistic things more on my english blog.
I added a link to my new blog at the top menu for those who want to follow.
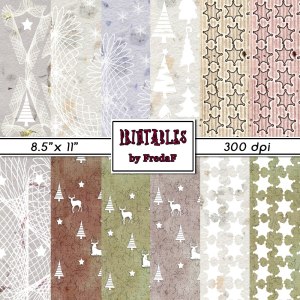
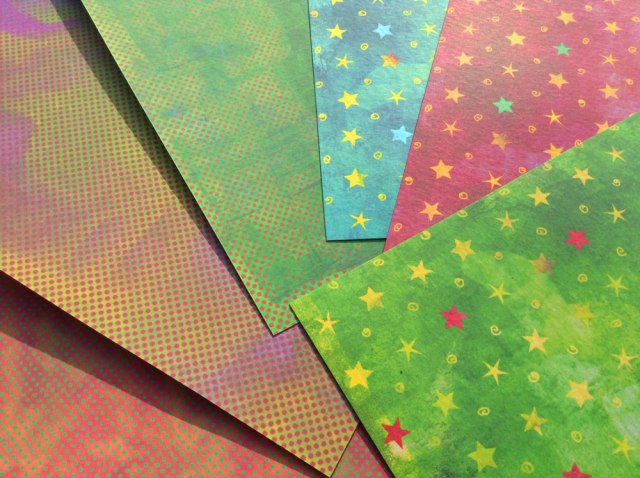
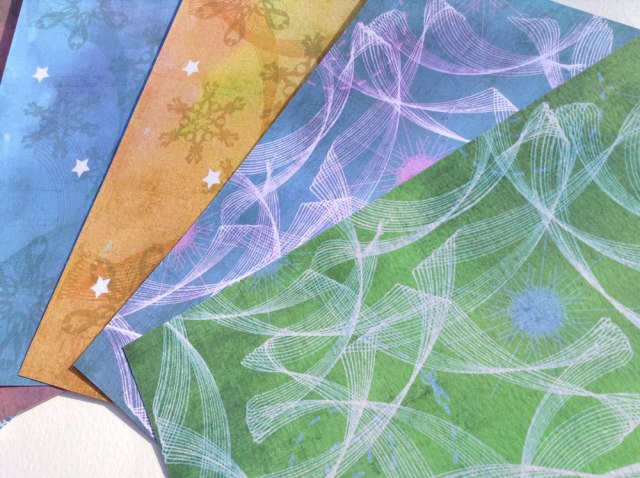
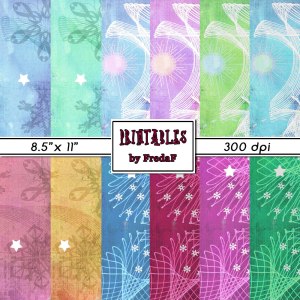
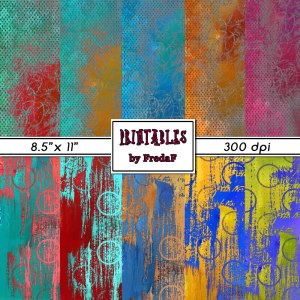
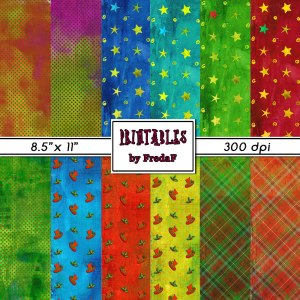
Last week I packed some sets of printable holiday and christmas papers, but also with neutral winter motifs I created.
Again I used some doodles I made with the spirograph and of course snow flakes, stars and christmas trees…
There are just so handy coming in a ready to print size as pdf for crafting, die cutting and electronic cutting of cards, tags and ornaments.
Have a wonderful Holidays, my appreciated followers, have some peaceful days with your beloved ones and some extra time to relax, forgetting all the commerce before christmas and getting back to the real sense of this celebration and this beautiful time of the year.
For next week I need a number of little inexpensive give-aways. Ok, everybody is reading a book once in a while so I made book marks trying out the new Silhouette stamp material I just got.
I cut little snow flakes and christmas tree stamps.
Then I cut 4 different book mark shapes from black heavy card stock.
With a white pigment ink pad you can make beautiful stamps white on black.
I used some of my snow flakes die cuts and colorful protection rings to decorate the top.
Then I added a ribbon each with a knot in front and one in the back and done!
Here you can download the book mark cut file, just click the link below: book marks .studio file
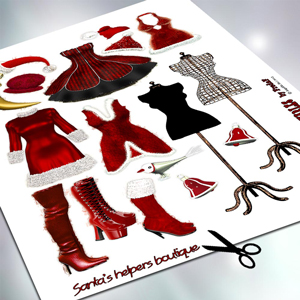
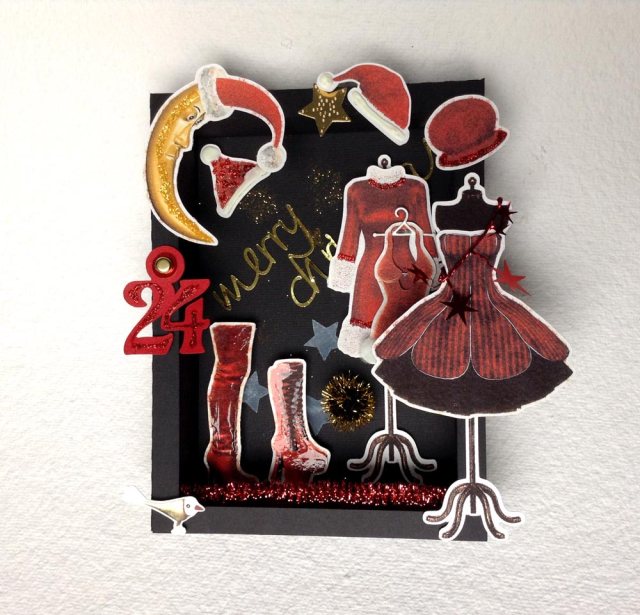
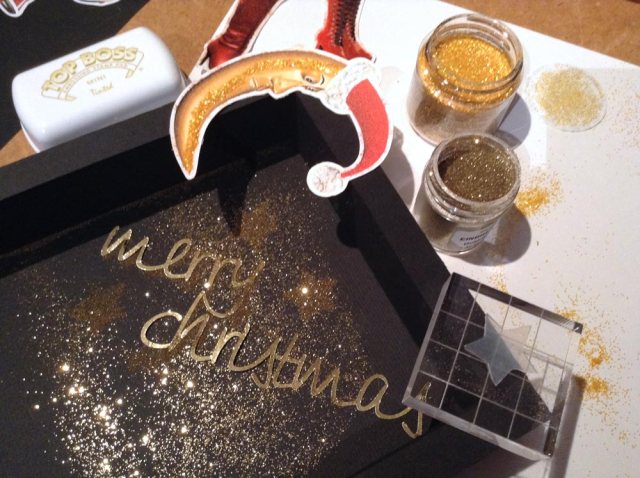
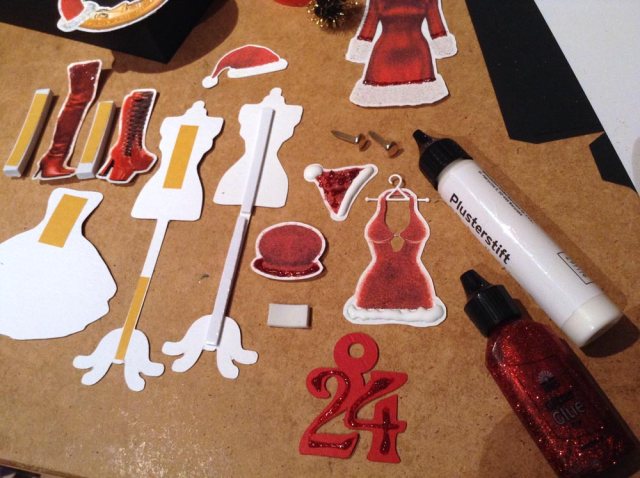
Yesterday I had my crafty Saturday and at last I used the embellishments I cut from my santa and christmas collage sheets. I never before made a shadow box, but find them so beautiful.
The basic box I cut from black card stock from a file I bought through the Silhouette online store. But there are also templates you can find on the web to build those or you just use a part of a black box.
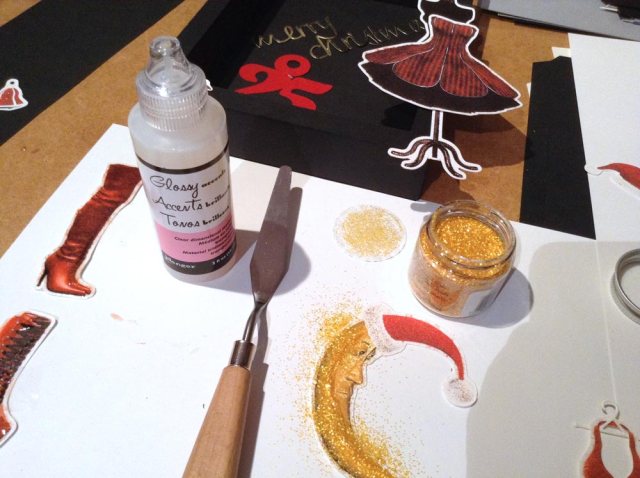
I added some stars and glitter to the inner background of the box. I added Glossy Accent and glitter to parts of the elements to make them glossy, shiny and christmassy. After drying I fixed the embellishments and some crafts supplies I found here in my workshop like the little glitter fur ball and a piece of wire with red stars. You can use everything gold, white or red. And it is better you make two of them. Mine is sticked to the fridge door with a magnet and I don’t want to give it away…lol…
Have fun!!!
The embellishments collage sheet you can get from my Etsy store:
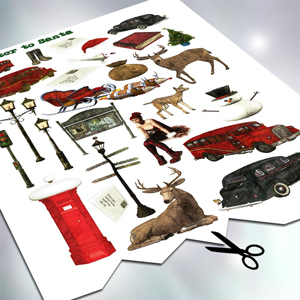
its been a while, but I was just too busy creating some collage sheets and basic tags for your christmas crafts, gift wrapping, well and most of all just having fun.
I have of course used my favorite tool, the blending edge tool and distress ink by Ranger to color the edges, some glossy accents (on the lamplights and to make some black parts more dark black) and as hangers I just used classical red, black and green bakers twine.
You can buy it both, basic tags and embellishments as printable collage sheets here: “A letter to Santa” on Etsy
or as ready printed and cut embellishments and tags