Almost there, the english version of my plotter book

Last night I got some first books to check if everything is fine, before the whole quantity will be bound.

This was so exciting!!!

The Germans are full of praise about “Frisch Geschnitten” and I am so happy about the good reviews.
It was like a miracle, that I met Lesley, a wonderful translator, right in time to translate the book.  While she was busy with the text I was reworking all screenshots, photos and some of the projects.

It was almost impossible to get this done before christmas, but we did it. The night before it had to go into printing we had the last phone call at 2 AM. And in the morning just before uploading the final file my patient partner with the sharpe eyes found a thick fat bad mistake…waahhhhhh…sometimes you just overlook the most obvious things…

In the beginning of next week the books are ready to be delivered. And I hope that many english speaking people also love the playful step-by-step instructions on how to use your cutting machines to its fullest.
For preorder you can go to my Etsy shop or Amazon.co.uk.

For now the books will be sent from Germany. I will carry part of the shipping costs, so this is affordable.
Later we see if there are better ways to deliver the book internationally.

Have a great weekend!

Angelika

craftycuttings1

crafty cuttings plotter book

printingcompany

May an angel be vain?

On my tags YES.
And when preparing to bring a love message OF COURSE.

For the backgrounds I embossed my own printed card stock, then softly rubbed distressed ink pads over the embossed parts in matching colors to get more contrast on the damask and tape measure wall paper pattern.
Then I added the embellishments.

Have fun looking at my newest tag creations.

Lola Angel tags

How to make a Santa Woman Boutique shadow box

Yesterday I had my crafty Saturday and at last I used the embellishments I cut from my santa and christmas collage sheets. I never before made a shadow box, but find them so beautiful.
The basic box I cut from black card stock from a file I bought through the Silhouette online store. But there are also templates you can find on the web to build those or you just use a part of a black box.

I added some stars and glitter to the inner background of the box. I added Glossy Accent and glitter to parts of the elements to make them glossy, shiny and christmassy. After drying I fixed the embellishments and some crafts supplies I found here in my workshop like the little glitter fur ball and a piece of wire with red stars. You can use everything gold, white or red. And it is better you make two of them. Mine is sticked to the fridge door with a magnet and I don’t want to give it away…lol…
Have fun!!!

The embellishments collage sheet you can get from my Etsy store:

santas-helper-collagesheet-shadow-box

christmas woman boutique shadow box

christmas crafts

christmas crafts

Fall wedding cake DIY printable gift box craft project – step by step tutorial

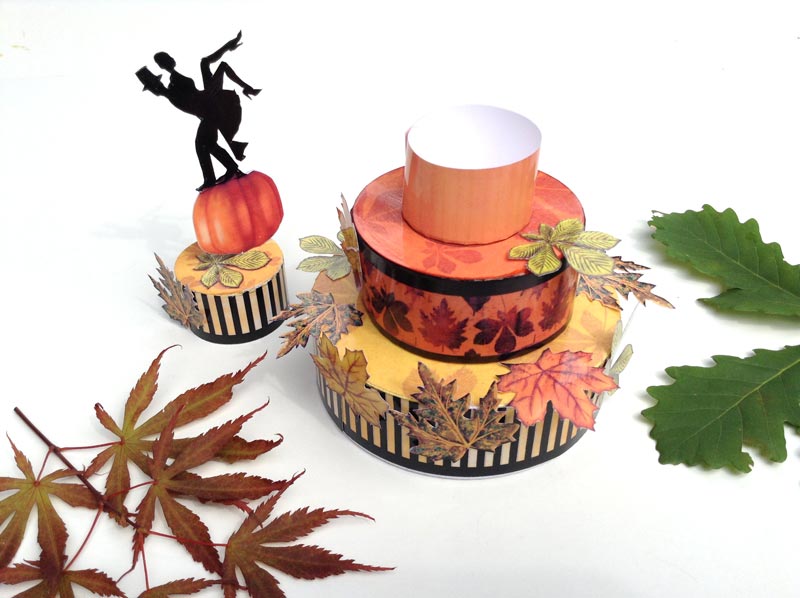
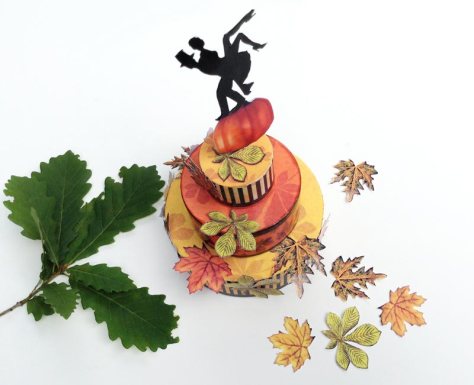
Today I released part 2 of my fall wedding cake paper gift box DIY printable craft project with autumn leaves, chestnuts and a bridal pair dancing on a pumpkin.

Pheeewww….this was my attempt for google search optimization….lol…having all important keywords in the title AND in the top of the description, sorry to the readers.

So this is the step by step tutorial for this advanced but fun little project, that hopefully will bring you a couple of relaxing hours incl. the walk for some natural decoration and a lot of ah’s and oh’s when given away (guarantied!).

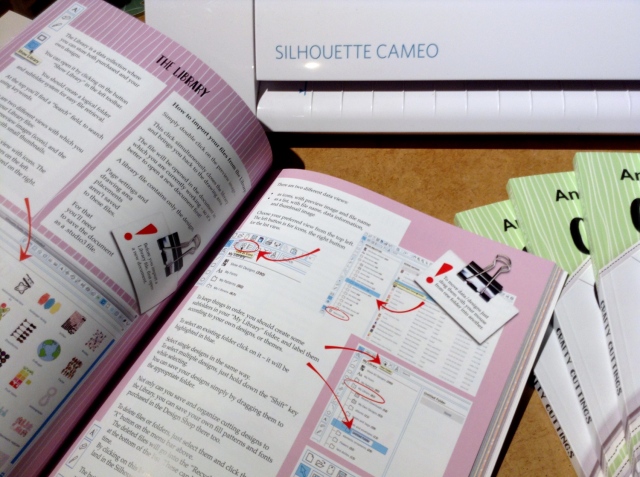
The printable files you’ll get here from my Etsy shop:
https://www.etsy.com/listing/160216656/fall-wedding-cake-favor-box-diy

autumn_wedding_box15

———————————————————————————————————————

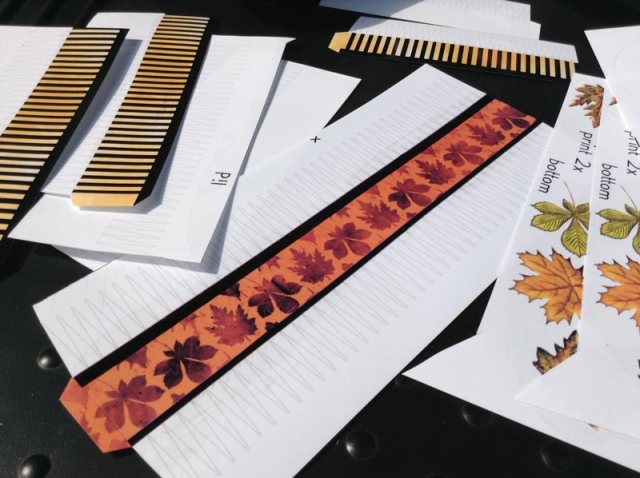
1. Print all 3 sheets, No. 1 has to be printed twice, so you got 4 pages
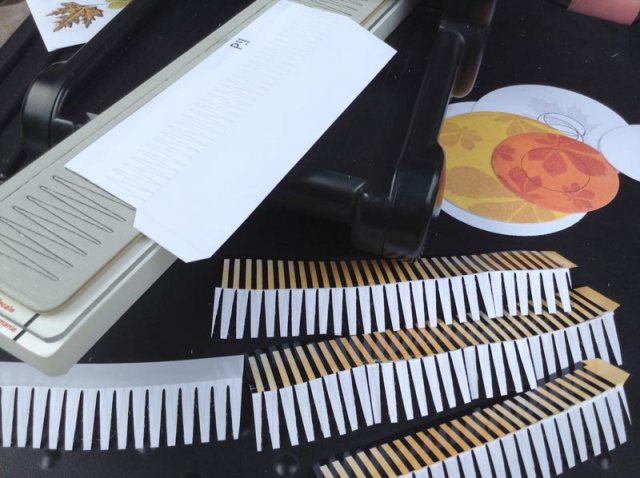
First cut the straight side wall parts of the box except the zigzag lines.

autumn_wedding_box1

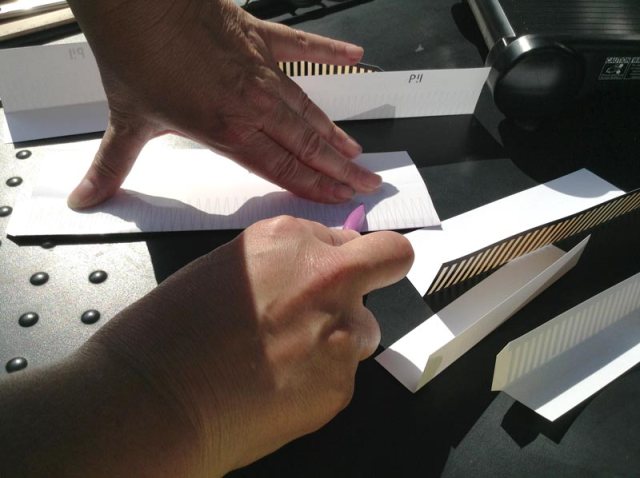
2. Crease the lines between the zigzag lines and the visible side walls with a ruler and a pointy tool and fold them.
It is urgent, that you do this before cutting the zigzags. Later it is much more difficult to fold them properly.

autumn_wedding_box2

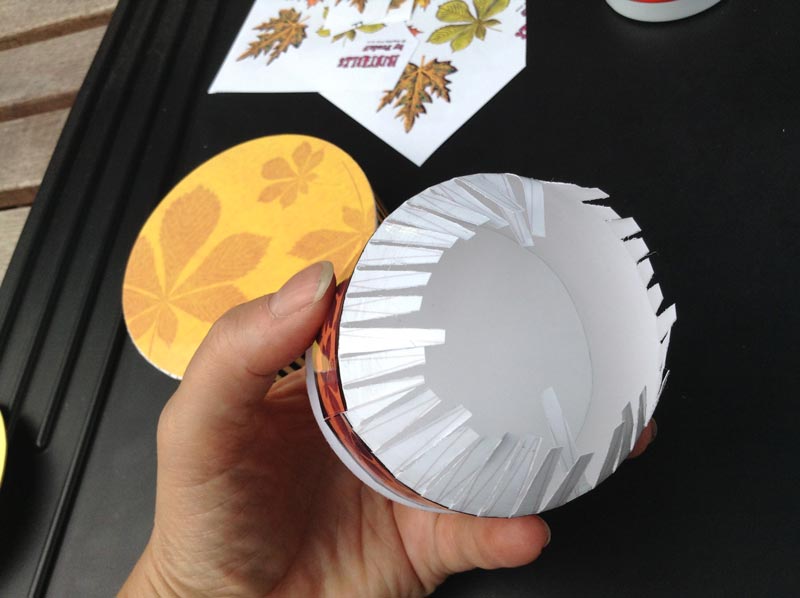
2. Cut or punch the circles. I used my Sizzix Big Shot and the Sizzix framelits here.

autumn_wedding_box3

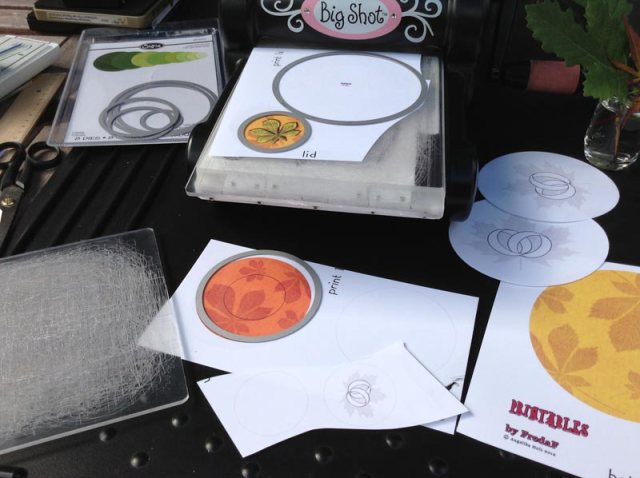
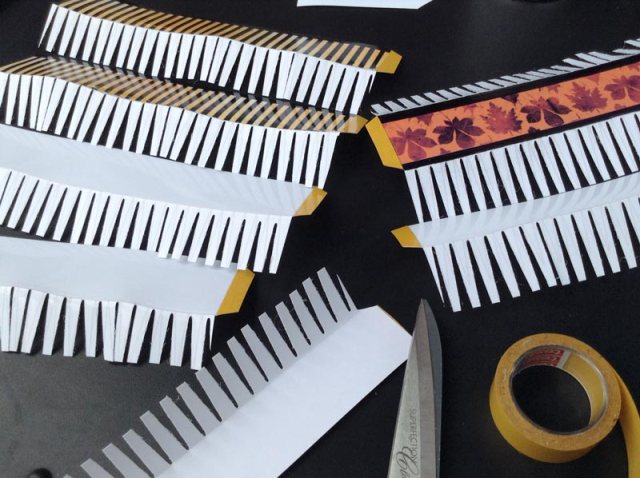
3. Now cut the zigzag lines. I used my die cutting machine here, too with the Tapered Fringe die by Tim Holtz. This works great and is a big time safer.

autumn_wedding_box4

4. Fix double sided tape to close the side walls. You can do this with liquid glue, too.

autumn_wedding_box5

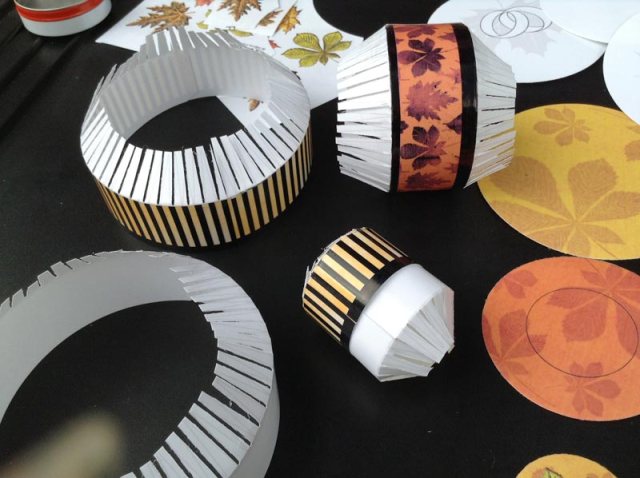
5. Now close the side walls. The biggest ring for the bottom is made from 2 parts!
Before you close the inside walls check the size, that they fit into the bigger outside easily. The white little ring on the pic below is orange for you! I changed this afterwards, much better now…

autumn_wedding_box6

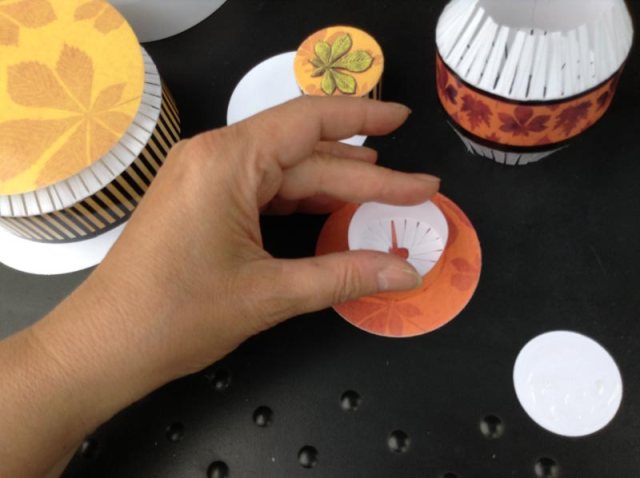
6. Add liquid glue on two of the little circles, the printed top and the one with the rings.
Fix the little top ring inside and outside with the two circles. The inside circle gives the ring its precise shape.

autumn_wedding_box7

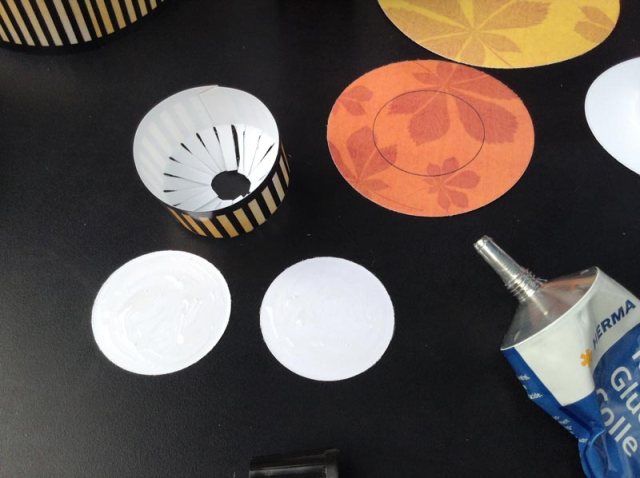
7. Add glue on the third little circle and on the printed middle top inside the thin line.
Then add the little ring on the middle part and slide the little white circle inside the ring and press until it is well fixed.

autumn_wedding_box8

8. Build the bottom box and the bottom lid in the same way with the biggest parts.

autumn_wedding_box9

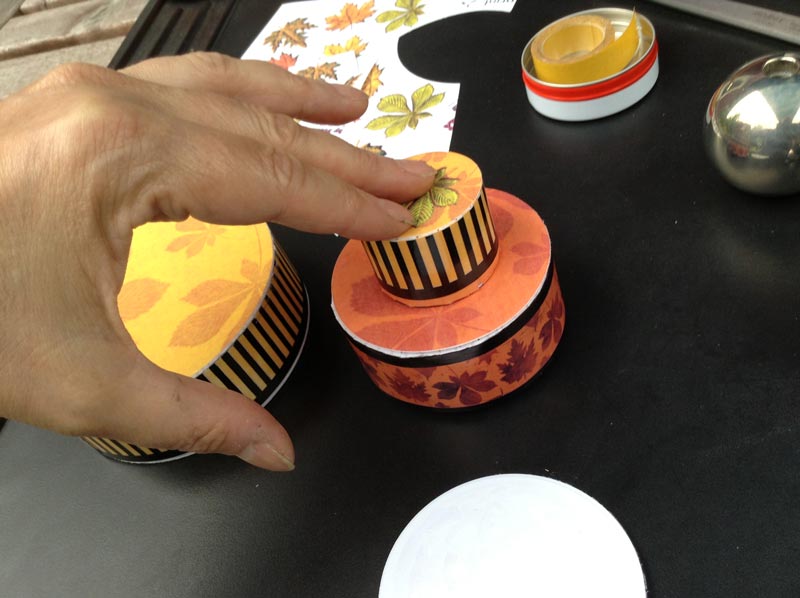
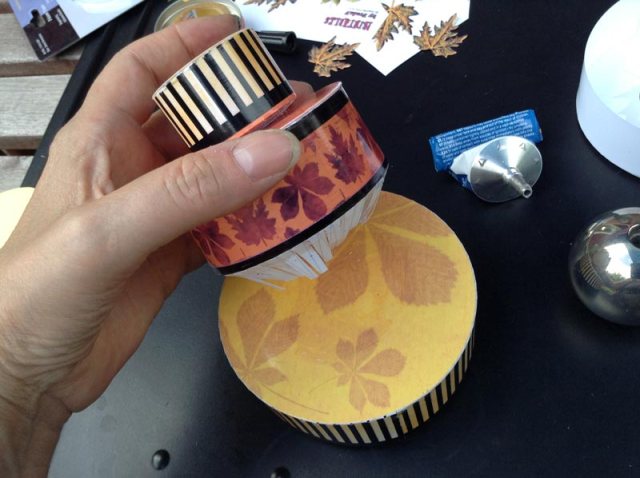
9. Now add glue to the middle sized circles and fix the top box part onto the middle ring with sliding a white circle inside to strengthen the shape.

autumn_wedding_box10

autumn_wedding_box11

10. Add glue to the fringes of the middle box part and press it carefully onto the bottom box.
Make sure all is well fixed and dry when you release it. You can put something round and not too heavy on top for a while to press the whole construction together. I put a little tin under the lid for drying, so there is not too much pressure on the side walls and a little tin on the top.

autumn_wedding_box12

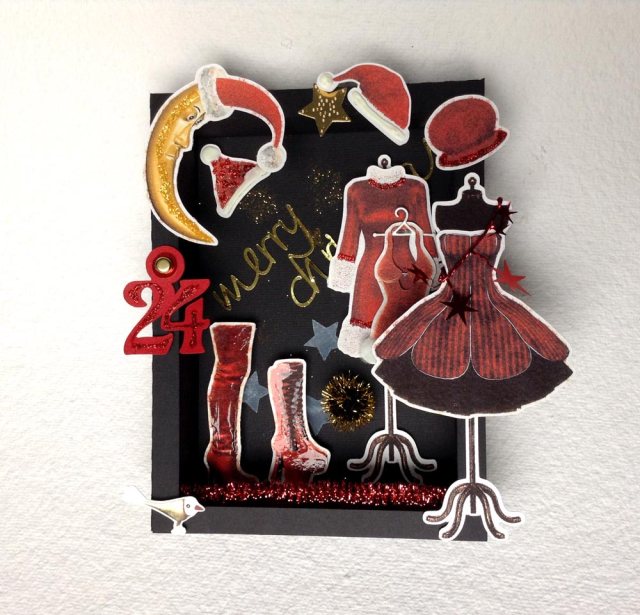
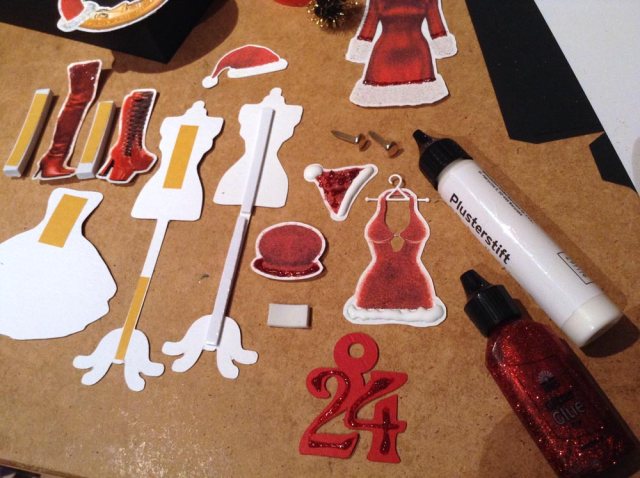
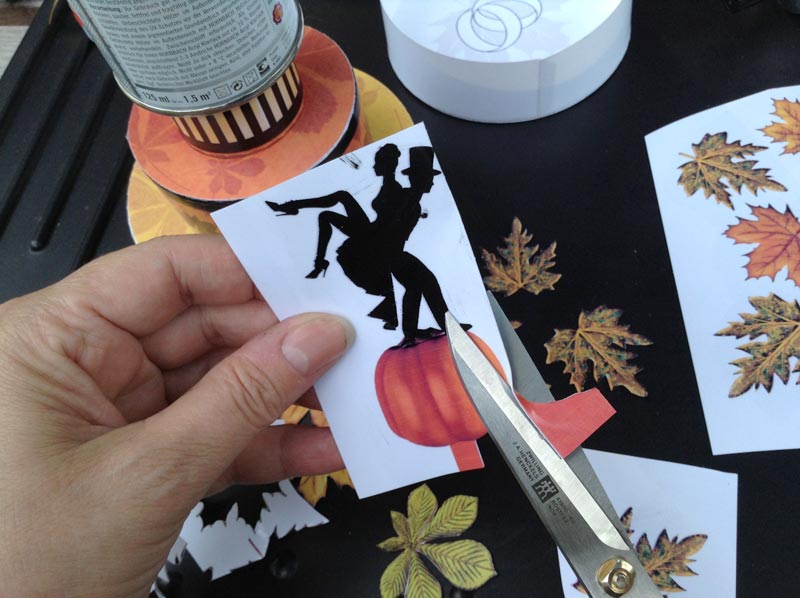
11. Now cut the embellishments

autumn_wedding_box13

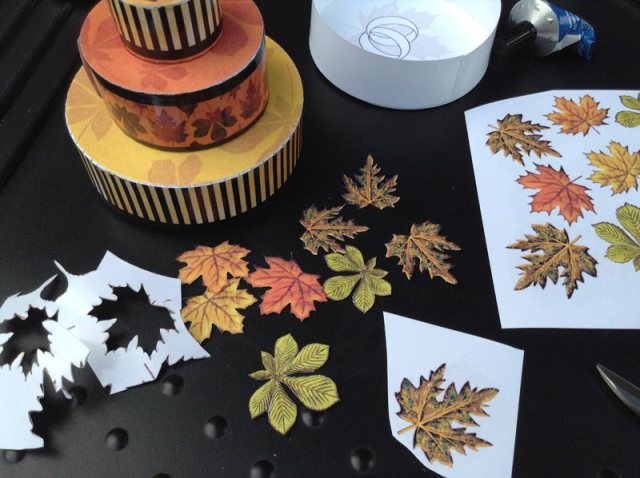
12. For the bridal pair you first fold the black block behind the silhouette, glue it, have it dried and then cut it.
There are two little “feet” on the bottom. You can make a slit into the tope of the box and slide them in, so the figures are standing upright.

autumn_wedding_box14

At last you fix all the embellishment to your liking.
I used a black and an orange brown felt marker and drew around the edges where they did not look clean or too white from the paper.
But I have made some little changes on the product, too while working, so your result should be better than mine 🙂

finished_wedding—box

 I hope you had fun and maybe a beautiful gift box now and that you will come back soon!

Card making on a rainy day

Today it’s been raining cats and dogs. This was not what I expected, so I started with sorting my work space, a drawer of old postcards, then I created a big mess again, but I am quite happy with the results:
3 personalized birthday cards I need next week for friends.
I found 2 beautiful but shabby looking advertising folders from very thick striped matte card stock. Glad I kept them years ago! After finding the right sandwich for my die cutting machine they came out beautifully by using the big stamp die cut from Tim Holtz. I printed some black and white stripes on glossy photo paper and tried a brand new mirror card stock and the victorian frames. In real they look much more beautiful than on the picture. The top card has got a kind of booklet, because I had to say more than I could pack on the front. I just fixed the little pages with a metal brad.
The two other cards had to be fashion related, so I used my little dress die cuts and the new handbag dies.

Maybe you get some inspirations for your own cards.

Have fun and enjoy the weekend!

berlin_card1

happy_duck_card1

red black white birthday card

International Scrapbooking Day – Mini Blog Train and huge savings

There are huge savings on Digiscrapstation!

We are having a mini blog train with freebies matching my birthday box give-away. Happy crafting!

Throwing some scraps around

Made by Keuntje

The Brown Owl

Happy Scrappin’ Gail

I am finished with my downloads, sorting, printing and I can say you, this will be a gorgeous Sunday!!!
I am going to show you tomorrow what I did with all those goodies.

See you, Freda

iNDS_crafting_project

Back to crafting – Mixed Media Doll House

I made some tries in mixed media lately and I don’t remember anymore how I was inspired, but I ended up with these two matching wall decor projects. I called them Empty Room and you can buy the printable supplies in my online shops.

I recorded some steps, so here is also a kind of tutorial how I did it for those, who are not such experienced crafters. One big advantage of printables is: if you mess something, don’t worry, just print it again!
And another advantage: you can start directly. The only thing you need is some glossy photo paper, a color printer, a scissors and some glue.

You can also get creative with filling the rooms just to your liking with all you got around you. Have fun!

I am wishing you a great Sunday!

Downloadable crafting kits available here:

Digiscrapstation

Etsy

Mixed Media Kit EmptyRoom 2 Dress Me!

Mixed Media Kit EmptyRoom 2 Dress Me!

Mixed Media Kit EmptyRoom 2 Dress Me!

Mixed Media Kit EmptyRoom 2 Dress Me!

mixed media collage crafts project

Mixed Media Kit EmptyRoom 1