Gel Printing – my first attempts with a self made plate

I used a simple small brayer from the do-it-yourself store here. I had just 3 colors of acrylic paint: red, blue and yellow, in addition black and white. And I had a whole Sunday afternoon for myself…

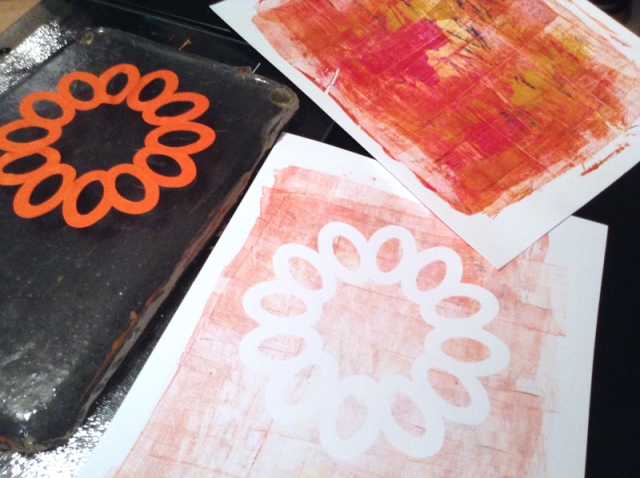
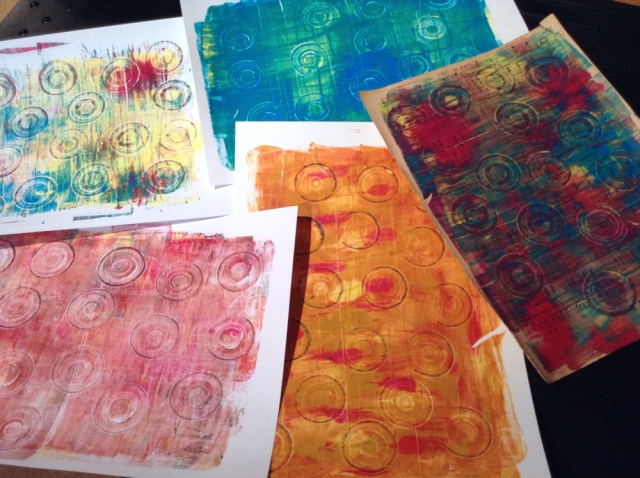
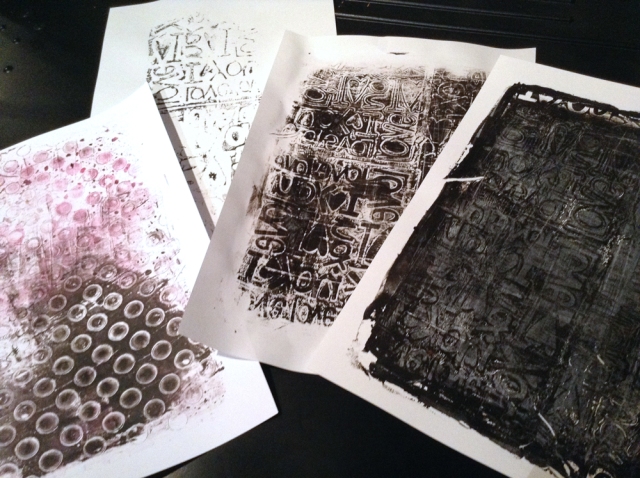
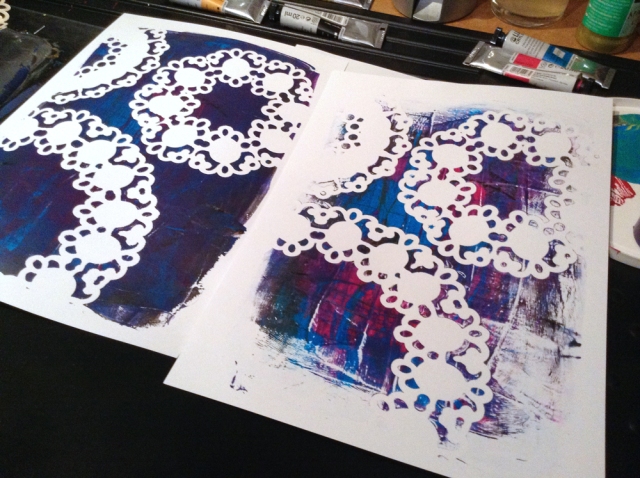
These are some of my first prints.
I am still having a lot more sheets that I do not like so much. I will keep them for further use, for stamping, die cutting or another layer of gel printing.

I love the random results. For me as I usually want to have full control over all my designs this is a wonderful exercise to let loose.

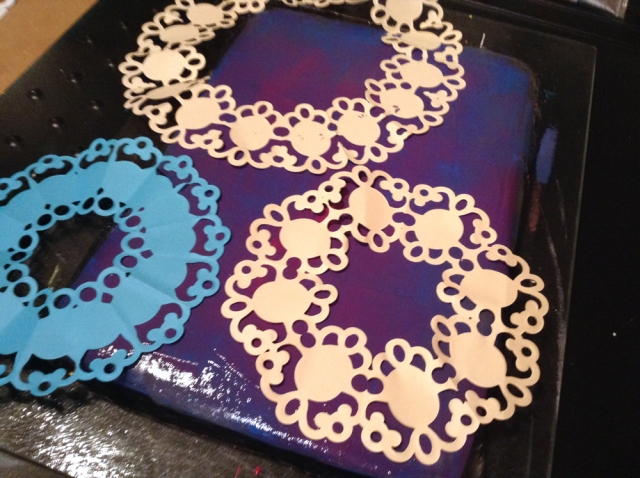
In the top pics I used some simple paper doilies I once made with my Big Shot and folded paper.
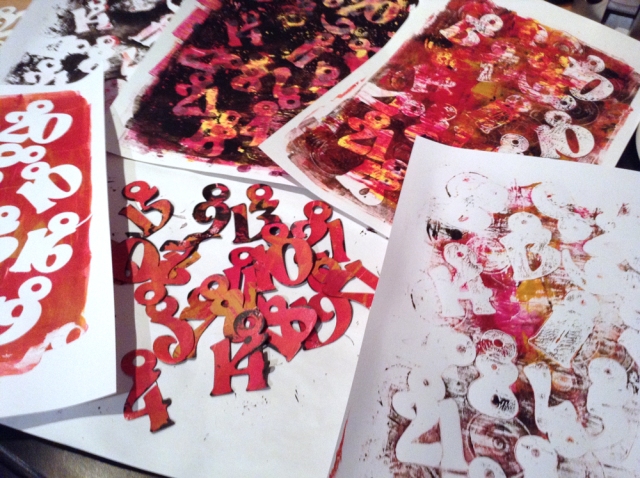
With gel printing you always get a first color intense print and a second print, which is more pale. I find the second prints more beautiful. For cleaning the brayer you even get a good 3rd print sometimes. This way I got little series from all types I tried. Great to find out what you prefer!

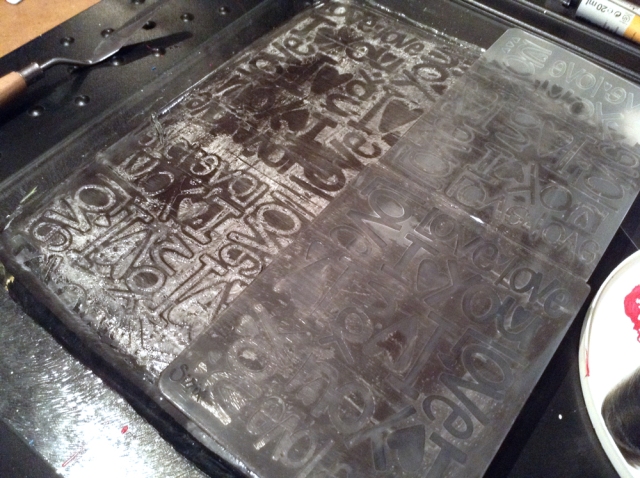
But I will not use an embossing folder anymore! The paint dried too quick and I didn’t get it clean anymore.
It is better to mess around with my own stencils cut from paper or film.

And I “stole” my bfs advent calendar numbers….lol…he will get new ones (or the painted ones?) on end of the year. I LOVE the number prints!
lace_stencils1

lace_stencils


pastel_circles1 circle_prints


numbers_prints


I_love_you_print

I_love_you_print1

Making my own gelli plate for gel printing from gelatin

The fabulous gelli arts plate seams to be sold out in Germany, so I tried to make my own gelatin plate. It took a bit of try and error, but then it worked very well.
Today I used it to the fullest until it broke. I got a stack of very interesting papers, but more important: it helped me to relax from the past stressy week. What a cool and fun technique!

Here I am going to describe my simple receipt and show how I made the plate.

My first attempt with agar agar did not work. It just fell apart. I think agar agar is not elastic enough.
My second attempt was making the gelatin exactly as described on the package and it was not stiff enough.
My third attempt was to take the double amount of powder than for normal household use.
I got a perfect firm clear plate!

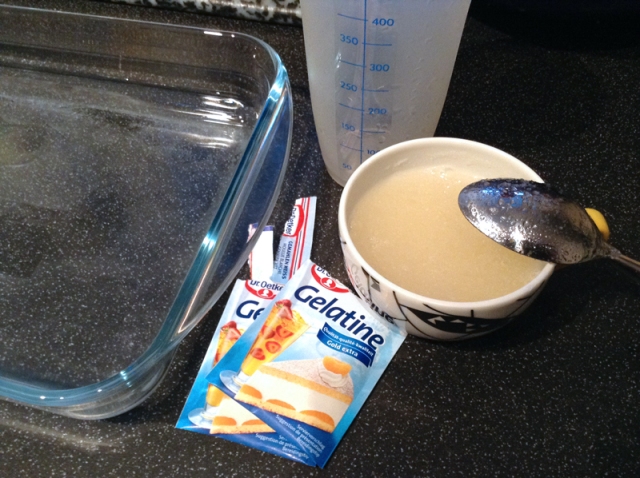
I used 750 ml of water with 3 packages of Dr. Oetker Gelatine (normally used for 1,5 liter)
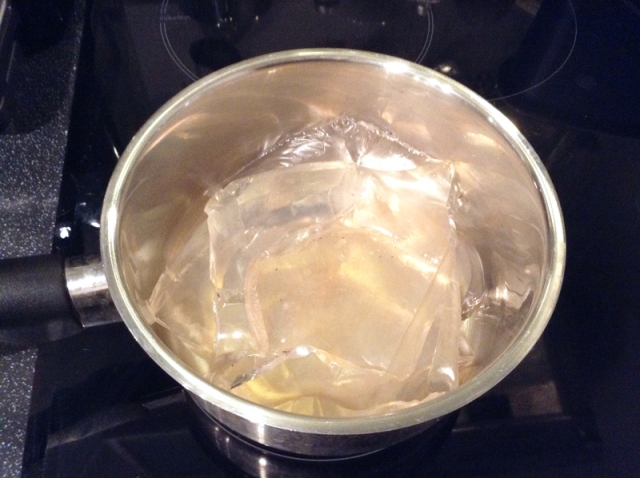
I made it hot in a pot until everything was molten. It did not even have to boil.

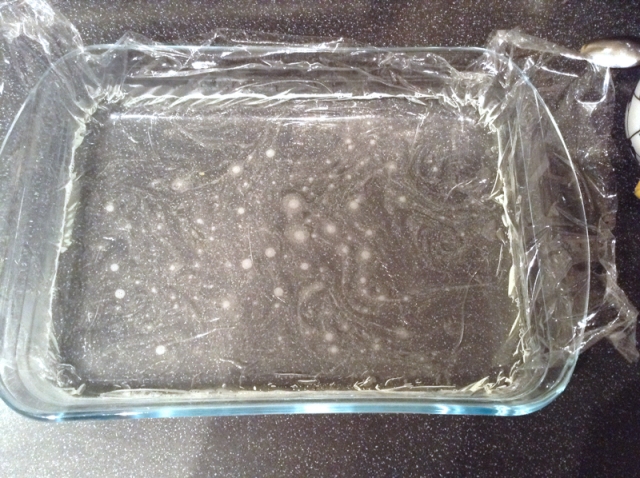
Meanwhile I put thin household film (Frischhaltefolie) to have it easier to get the plate out of the bowl later.
The glass bowl is maybe not the best choice, but you need a low sided flat bowl and this one had the perfect size for me.

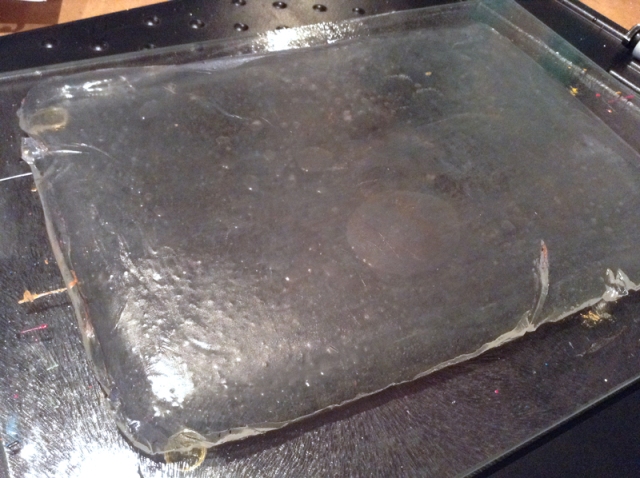
You pour the fluid into the bowl, put it into the fridge for a couple of hours and it is stiff.
Then you have to take it out very carefully (I did it with 2 more helping hands, much easier).
I pitched mine onto a glass plate. Ready to be used!

See my first prints in the next blog post…

gelatin_plate1

gelatin_plate2

gelatin_plate3

After a couple of hours and a stack of colorful prints the plate started to break in some spots. So I just melted it again, repeated the whole procedure and now it is back in the fridge waiting for the next use.

gelatin_plate4

gelatin_plate5

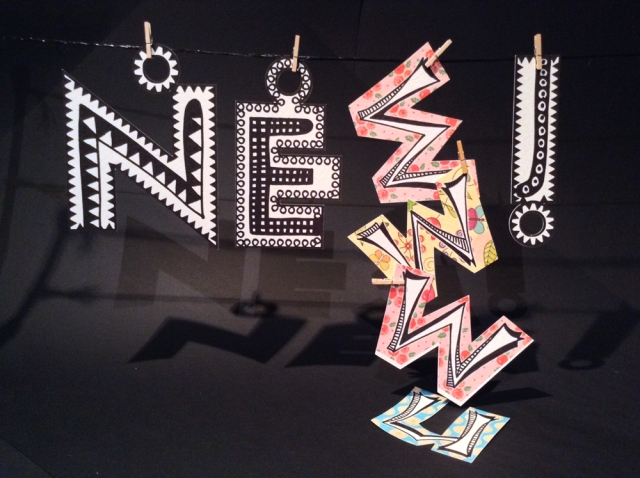
NEW!

New theme, new categories, new social media buttons, new follow by email, new menu, new links…

At last I made it to find a workaround to customize my blog to make it more interesting and more user friendly. I learned that there is a difference between midgets and widgets and I learned to implement the latter. I hope you all find this usefuland soon I am going to start to write about my new projects.

After years I used real pens again and did some hand drawing. It took a bit of time to get into it and I started simple with some lettering.

Lettering