Maybe the most stupid mistake you can make with a gelli plate

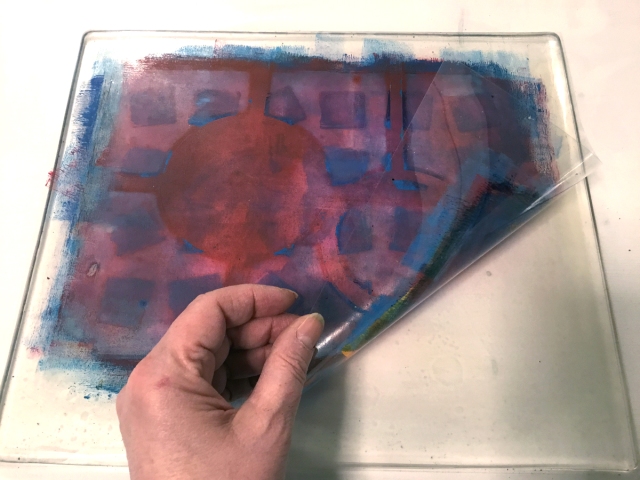
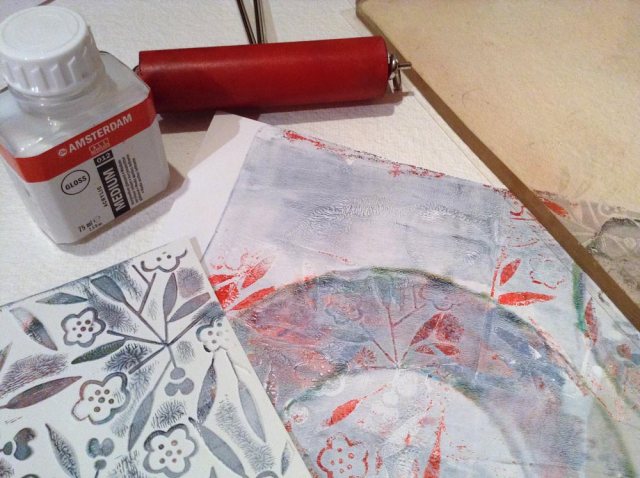
…is not to remove the cover from your brand new big size gelli plate before using it.
And it just happened to me. Having my head in the clouds, thinking of many too many other things having on my “plate” right now. After 4 prints I was wondering what was wrong with my acrylic colors today – too cold, too old, dried out… and then I saw it!!!

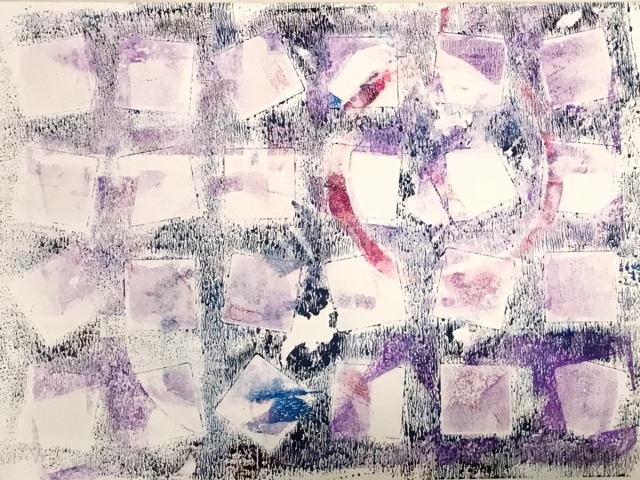
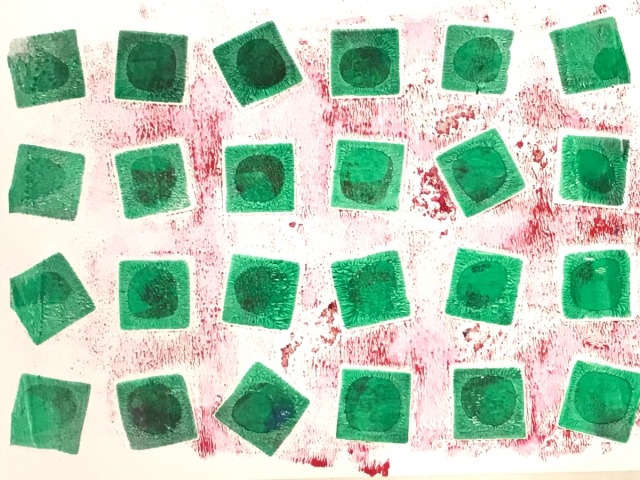
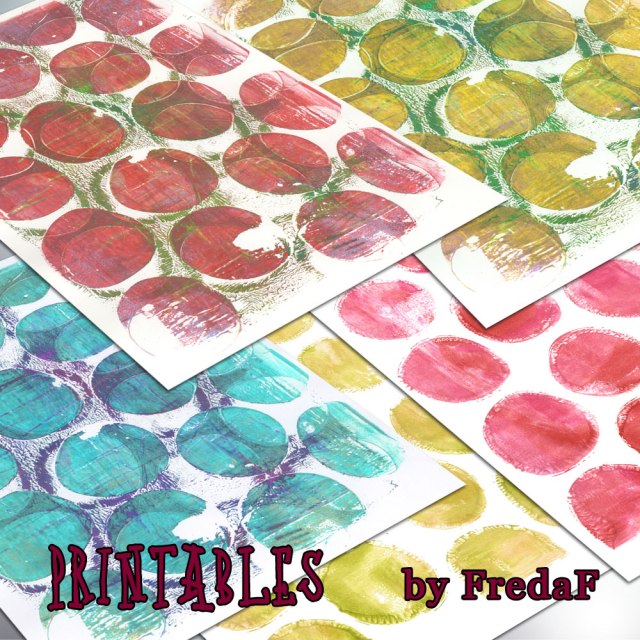
But let’s just call it artistic freedom and enjoy those much too dry, but interesting looking prints.

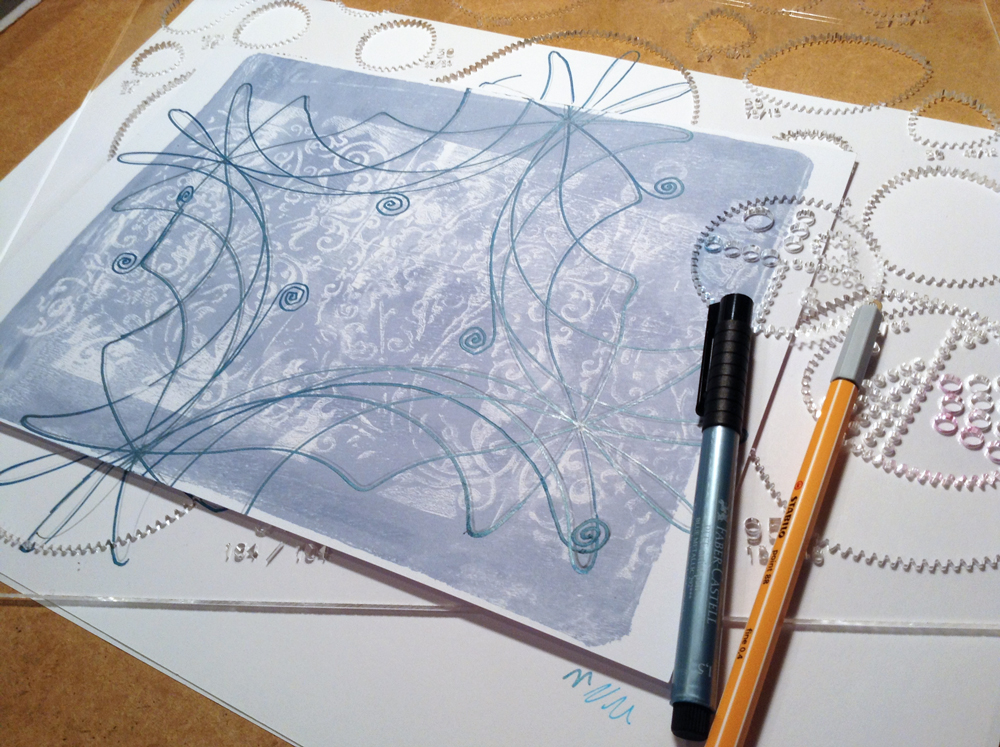
Another good thing is, it will never happen again, because the cover sheet now was much too beautiful with my self scanned and cut multi layered stencils, so that I did not clean it. It goes into the package after using just like this.

Enjoy your weekend and happy crafting,
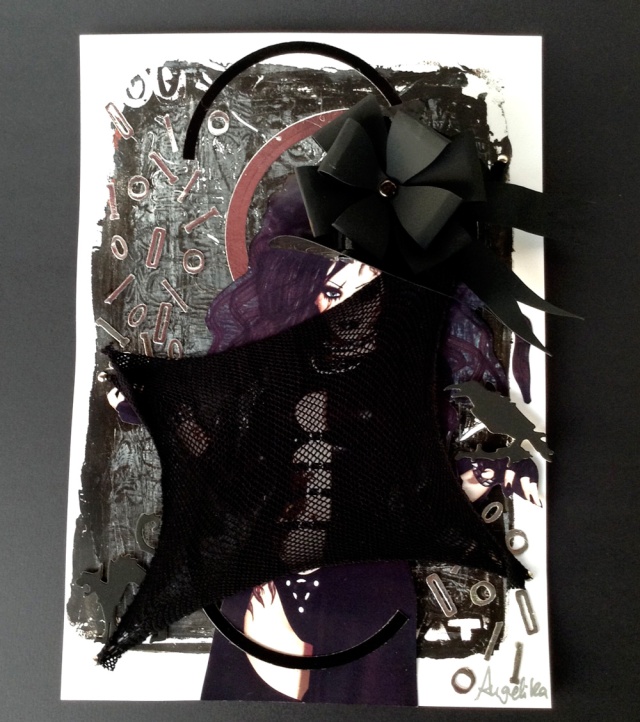
Angelika

gelliplate

gelliplate1

cutting-stencils

gelliprint2

gelliprint3

gelliprint1

gelliprint4

my-studio


Double line spirograph art on gelli prints and testing new pens

Now that I know a little bit more of how the wild gears are functioning I was on search for other pens.
Some of the gears got quite big holes. I have the whole palette of Stabilo 88 which make a 0.4 mm line. But why not combine two different thicknesses. I got some Stabilo 68 pens. They draw a 1 mm line. It is great that both thicknesses got exactly the same colors. And I found some 1 mm gel pens by Faber Castell which are great for dark papers, too.

I grabbed some gelli prints I found boring and here we go turning the wheel…
I used the thick pen in the big hole, then added the little ring and draw a thin line. This gives the cool parallel lines.
With the blue one I was just too excited about the metallic gel pen, that I slipped a couple of times. This is covered with some pretty spirals and done.
The beautiful regular lines are giving a nice contrast to the blurry printed papers made with embossed ornaments.
These are still trials, but I have the feeling I get more control over the gears with time.

Now the papers got an exciting addition, but I still don’t know how to use them 🙂

wild_gears_double_lines

wild_gears_double_lines2

wild_gears_double_lines3

Falling Leaves

You just cannot ignore it anymore even if we had a wonderful sunny and warm weekend.
But it is fall. And I don’t like fall. I am a spring girl, I also love snow and I love warmth, but I don’t like the plants in my garden and everywhere around me dying, not at all…

However, moaning doesn’t help, so I kept myself busy and created a set of fall leaves from paper to make some warm rich overwhelming beautiful fall tags using my new leaves dies from Taylored Expressions (ordered from USA and every Cent for petrol to get them from far away out of the customs office was worth it! ). The tree I’ve cut with my Silhouette Cameo from a cutting file I made myself a while ago. And for the photo background I found a gelli print in matching fall colors.

I hope you love fall more and enjoy the rich season!

tag_making1

mixed_bigpack

tag_making

tag_making2

autumn_leaves_tags3

autumn_leaves_tags2


punk art mixed media collage

Last week I was asked to make a piece of punk art.
Well, I love steam punk and I love goth and I lived in Berlin when punk started to become popular, where Nina Hagen comes from, so “punk” shouldn’t be that difficult.

I used a dark black and white original gelli print I once made.
Then I created a punk girl in a 3D program, decorated her with wild messy hair, a black sexy leather outfit, pale skin and with dark make up, printed her on glossy photo carton, cut it and added her to the background using different heights of foam stickers at the hip and breast parts to avoid dull flatness.

I added some embellishment like a black cat, raven and 1 and 0 falling out of her hands (symbolizing data).
I knifed through my previously made gothic mini hat and was surprised how well the half piece kept its shape. I mounted it with the hot glue gun.
Then I fixed a piece of fish net tights with silver brads and with it I fixed the whole page on a heavy black card stock to make it all more firm.

Done!
Now it is on its way from Berlin to Florida…

data-punk1data-punk2data-punk3
goth_mini_hat1
data-punk

some new gelli print experiments

After so much precise vector work the past weeks I did some relaxation with my gelli plate last night.

First I prepared some embossed papers and die cuts I wanted to use. Of course I could not control myself again when Sizzix UK had their big sale lately, so I got a big box with new embossing folders and decorative strips dies. I was instantly in love with the Tim Holtz dies.

On the top print I used them as stencils, but they kept sticking on the print after removing the page from the gelli plate giving a lovely effect just like the flower masks from film, which are covered with acrylic paint and sticking between the stencils and the page. So this has become a mixed media page without intention.

I tried adding golden modeling paste, which looks much more beautiful on the original print than on the scans.

The black and white is just decorative and maybe I will go on working on it.

For the purple print I used some dots from the trash from mirror cardboard and wow, they also been sticking and still shiny after removing, so I just let them stay and shimmer.

And the bottom print will be a wonderful background paper whenever I need a walltexture. I never expected it to come out so cool. The first print did not look very spectacular, but this is the second print with removed stencils. What a surprise.

Altogether a successful gelli session and so much fun!


gelli_print-172 gelli_print-174 gelli_print-177 gelli_print-181 gelli_print-183

making endless damask paper rollers for gelli printing

I recently ordered 2 sets of damask embossing folders from Sizzix with having wall paper like prints in mind. The little size does not cover a letter size sheet though, so I tried to make endless rollers.
I found a matching roll within my fabric stock and cut it in pieces, also the embossed papers and fixed them around the rolls.You need to have very good double sided tape for this to get a clear endless pattern.

I used the rollers with the gelli plate and it was such a sticky, messy and intricate action, that I totally forgot to make pics. I was not happy with the results anyway. But with a couple of days rest in between, then scanning some of the best sheets, recoloring them on the computer and printing the new colors I found them usable.

I cut tags, ran them through the Big Shot again embossing them with the same patterns. I brushed distressed ink pads over it softly to get more contrasts and then covered them with embellishments. At the end I love them and I will bore you even more with tags 🙂

embossing_damask_patterns

making_the_rolls

tags_damask_rolls

printed_gelliprints

tags_damask_rolls2

tags_damask_rolls1


The masked circles AJ page

fantastic layered gelli arts techniques

scrappystickyinkymess

Bet you thought I had abandoned it.  Nope.  Just a lot of layers that all needed drying in between.  Perfect for a day when I am awaiting a re-delivery of a package (sadly, not for me LOL!)

I took the print of layered masked Gelli-print circles that was on my desk yesterday and covered it with the acrylic mists in Brown Spice.  That filled in all the gaps of plain paper and even the little bits that were left as plain paper after printing.

AJwheels

Using my Stabilo All pencil I carefully outlined the circles, taking care to try to work backwards so the top-layer circle is most completely outlined and the circles “below” it are not, if that makes sense.

2AJwheels

A whisk of a damp brush brings it all to life.

3AJwheels

I Gessoed a two-page spread in my AJ and stuck this piece off centre but across the page-divide. From…

View original post 267 more words

Gelli Print with Acrylic Medium

Last week I made a whole bunch of own stencils from overhead film. I find them perfect for use with the gelli arts plate. The prints from the stencils are giving a different structure than from the gel plate. This way you get beautiful effects and you can make more prints from one session.

I used some embossed card stock for texturing and got a beautiful scrap for further use.
One of my most favorite “paint” for gel printing is acrylic medium. I use glossy and matte and I love both of them. It is perfect to make a pastel last print from left over paint on the plate. You can liquidify with just putting 3-4 drops of medium onto the plate, then using the brayer to spread it over the plate.

This is one big advantage of the natural gelatine plate. It is wet, the Gelli Arts plate is dry. But with acrylic medium even the last traces are going off and make wonderful last prints.

Have fun trying this!

gelli-arts-print2gelli-arts-printgelli-arts-print1

DIY spring pop up booklet

Last week I needed a special “get well” card for an ill friend. I thought it must be more than just a card and it has to be spring themed. I still had some unused cutting files from the Silhouette online store in my library and I had a brand new Epson A3 photo printer (my early birthday gift, such a cool machine…) here, not yet tested.
So I started with a 3D star booklet and cut the parts on my Silhouette Cameo in heavy white paper and grey card stock.

Then I printed some big sheets with fresh stripes and recut the middle parts.
For cover and backside I used  test prints from one of my gelli prints.

It was quite a bit fiddling to get all the parts assembled and I found help on the designer, Jamie Lane’s blog, from whom I had the cutting file:  http://jamielanedesigns.blogspot.de/2013/11/star-mini-albums.html

Then I filled one of the finished booklets with embellishments, scraps and some hand written text. The other I kept blanc for later use. Now my spring booklet is almost a pop up album and the gift was a big success.

And this is it:

spring_popup_booklet2

spring_popup_booklet3

spring_popup_booklet4

spring_popup_booklet1

spring_popup_booklet
printable papers dots