I did it again!
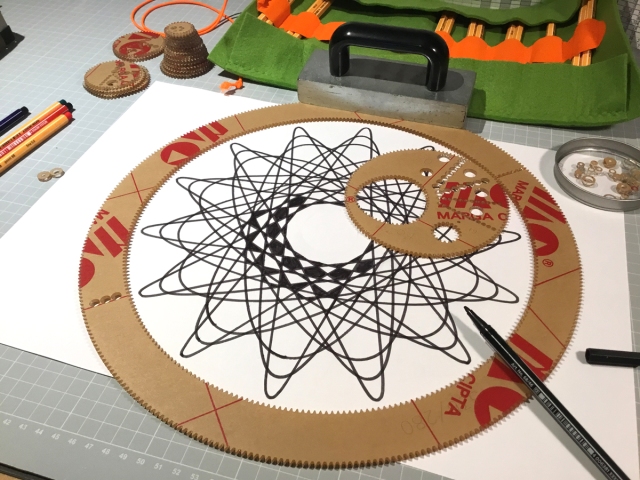
Two years ago I got my first two sets of wild gears and I had so much fun with it. Now, 2 years later I discovered there are new additions, so I made myself a big gift and ordered 3 more sets.
Again it was so special to unpack them.
This time I did not remove the brown protection paper, that I could clearly see which were my first sets and which are the new parts.
After some playing and trying I made a big ornament, that could be used as a t-shirt design.
What a fun to combine 3 very different techniques:
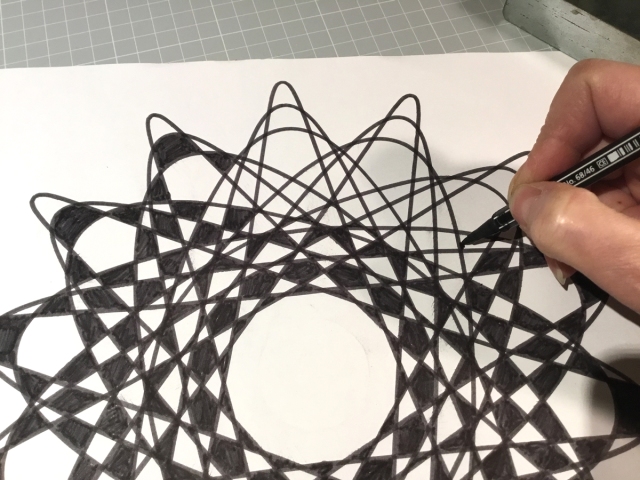
- drawing with the spirograph
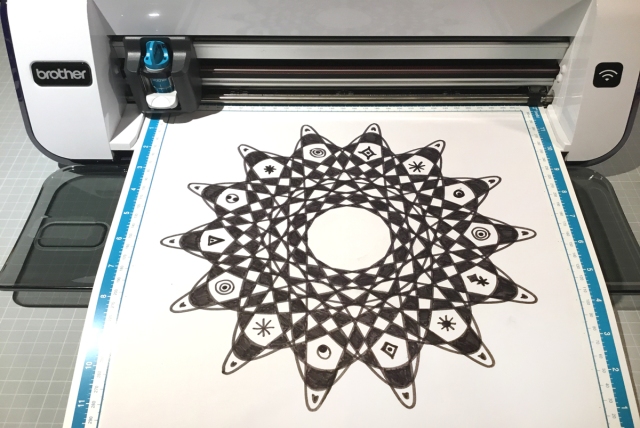
- scanning and cutting with the ScanNCut
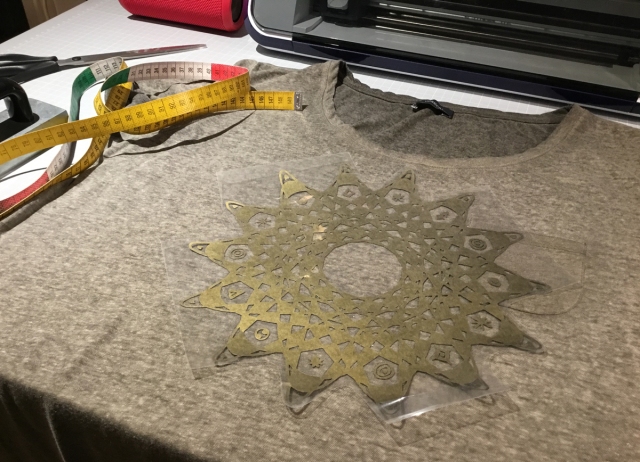
- and ironing-on my own drawing on fabric
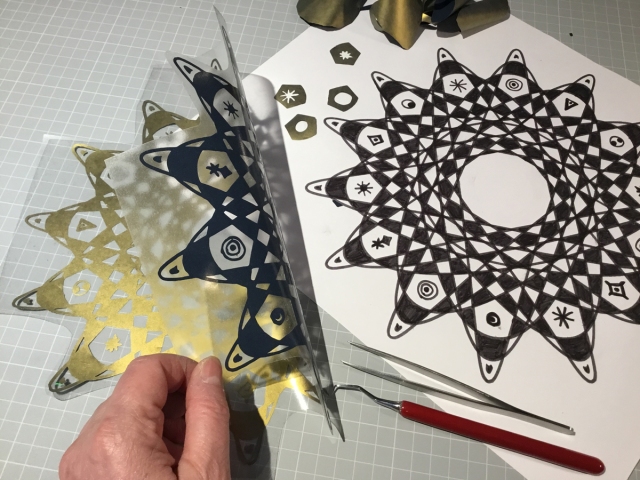
For the spirograph drawing I used a thick black Stabilo pen (68-series).
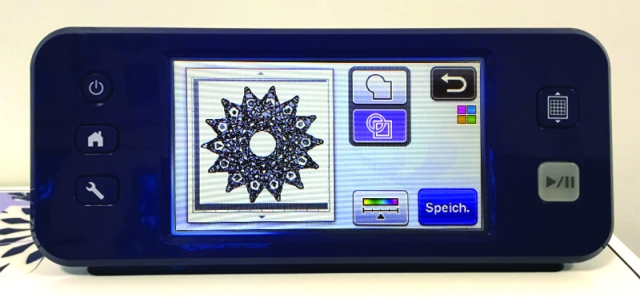
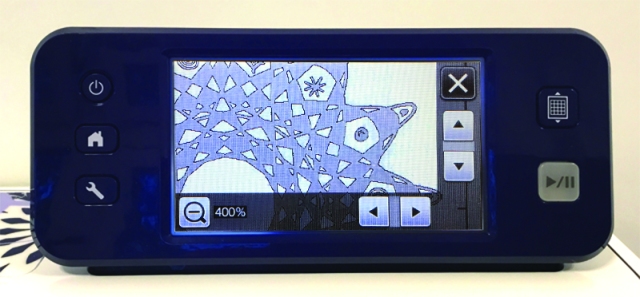
The contrasts and image quality were good enough for the built in scanner of the Brother ScanNCut to get all the lines and edges.
I scanned it and saved the data in the machine.
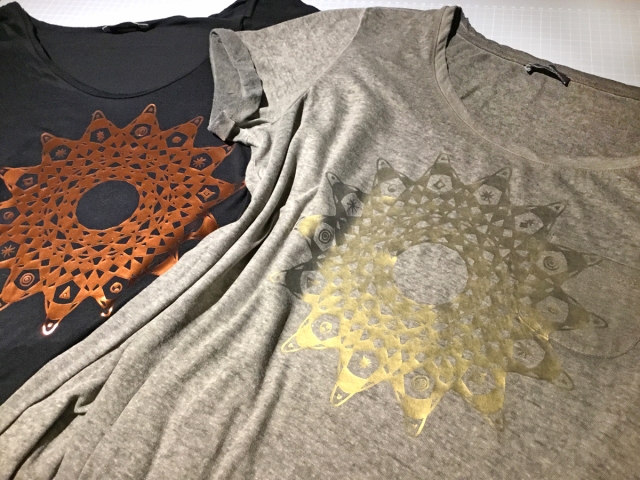
Then I chose gold metallic htv in full size, 12 x 12 in for cutting and after the result was great I just cut another one in copper.
Weeding was a job while watching TV. It took a while…
Lucky who got a heat press. 15 seconds pressing each and my new t-shirts were ready to wear.
Have a great weekend,
Angelika




Just wow!
Thank you!
UNIQUE!!!
Where were you able to find such a large spiral graph kit? I’m on the hunt for such a size for a different application but can’t seem to locate one large enough one.
Why a great design you created!
Your help would be greatly appreciated,
Thanks
Yana
Hello Yana, this is the website of the big spirograph kits: https://www.wildgears.com
Have fun!