Laminated feather book mark

I am playing a lot with the laminator lately, making a brochure for a laminator company. There is so much more, that you can do with the little machines than just business cards, signs and menus.
This was just a little test to try if I can actually run a big real feather through the machine and it worked unexpectedly well.

I used a feather I found in the woods when I walked the dog.
First I squeezed and broke the quill, that it is less thick and stiff. I put the feather on the opened laminating pouch. Then I added some sequins to the top and a ring from pink mirror card stock at the bottom.

I closed the laminating pouch and ran it through the laminator. It came out glossy and perfectly sealed.
If you don’t want the film to bend when it comes out just put some books in front and behind the laminator, just a little lower than the outlet.

Then I cut the feather with some distance, punched a hole into the card stock ring and added a ribbon.
It is a perfect little inexpensive present best coming with a book.

Thisone is for myself though and I use it directly for the book I will read during the next days outing myself as a Stephanie Plum fan 🙂
Happy easter!!!


My first experiences and creations with the new Silhouette Curio™

Last week I got the brand new Silhouette Curio cutting and embossing machine.

My first step was to ruin the embossing mat with crafts foil. I just didn’t get it off the mat anymore, instead the foam of the mat was gone.
It looks like the key to success is to use the right material. Three days later I started over again with a stack of new papers, with a new mat and the intention to test every material on the corner of the mat before covering the whole mat.

So I gave my new machine a second chance.
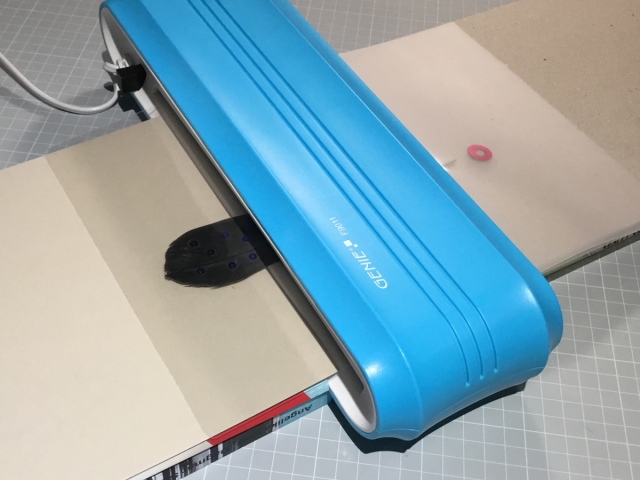
I love the edgy shape of the machine. It is very easy to grab and move.
Inside the machine there are 4 holders for tools, that are not currently in use, very handy!

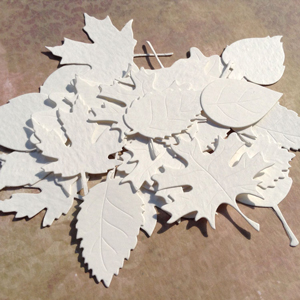
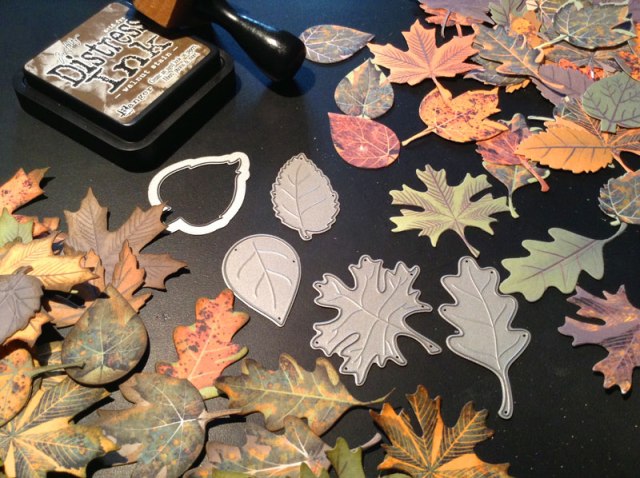
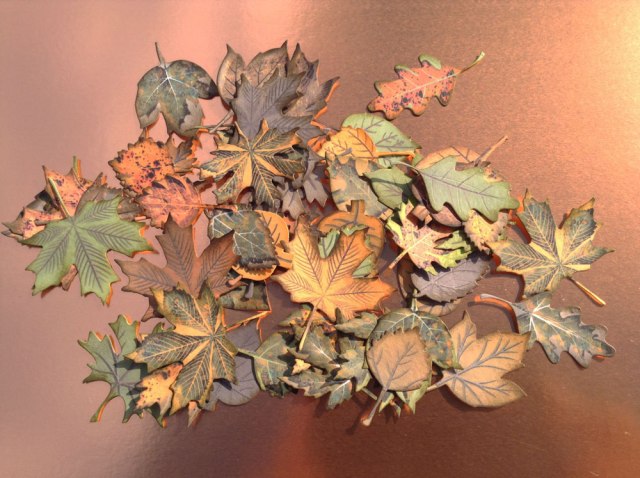
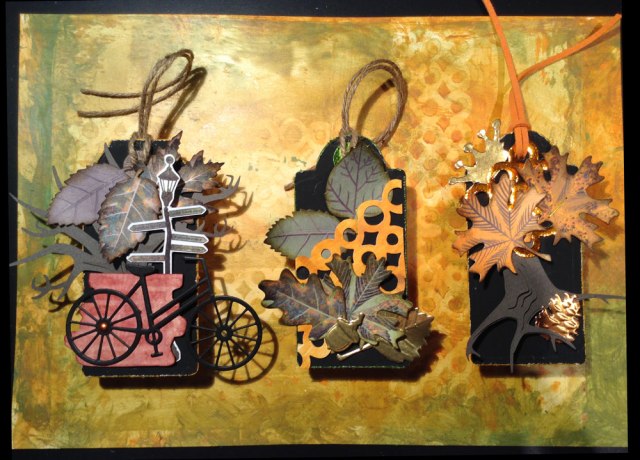
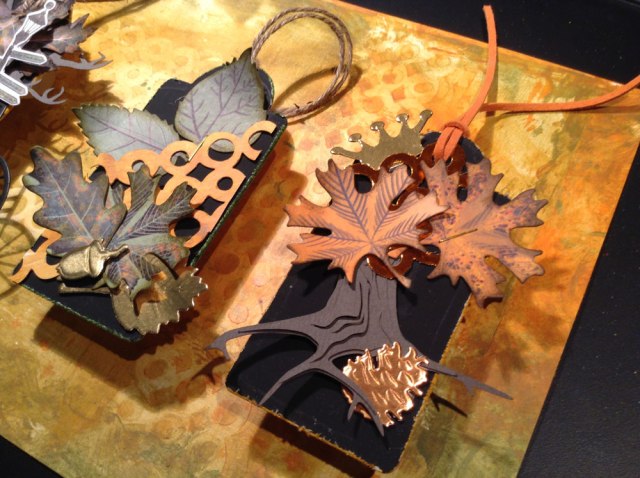
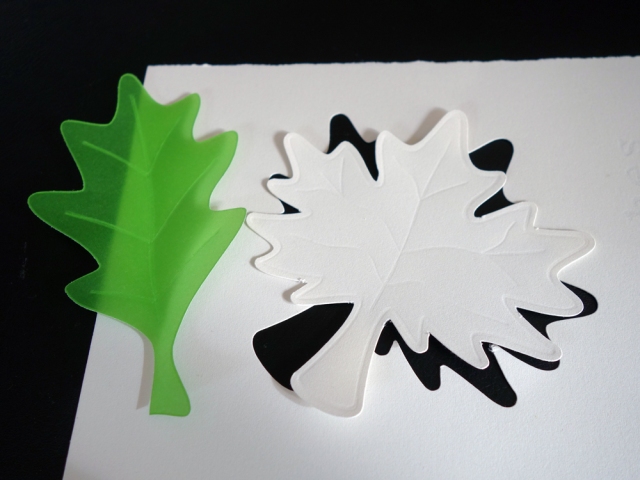
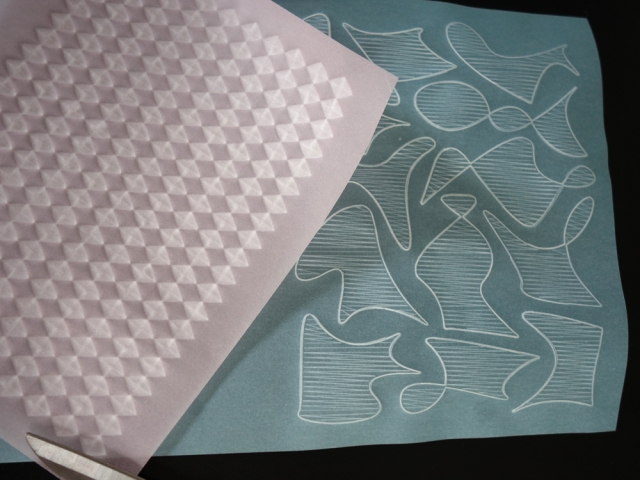
The double carriage is fantastic. You can use 2 tools at a time, e.g. the embossing tool and the blade for embossing and cutting right after each other in one step. This is what I did with the leaves below using vellum and high quality hand made paper:

blätter_mit_Curio_gemacht

I love the firm base of this new model. It is very easy to handle. You do not have to unload it to change materials.
The handling is very different from the Cameo. I had to get used to it.

I must say, I also love the small size platform. The Curio is a multi tasking crafts machine and for experimenting with the new techniques and materials the format is absolutely ok for making cards, embellishments and tags.
The double size platform will be delivered later in fall and of course I will get one, too. But for now, I don’t miss it.
I am missing more the extra tools, that are announced, the deep cut blade and the stippling tool.

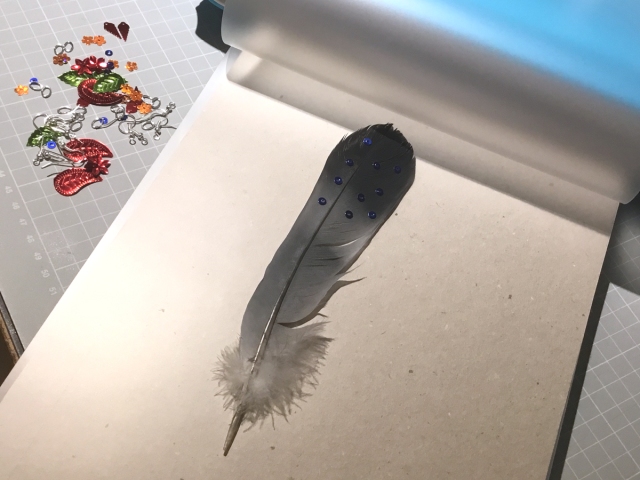
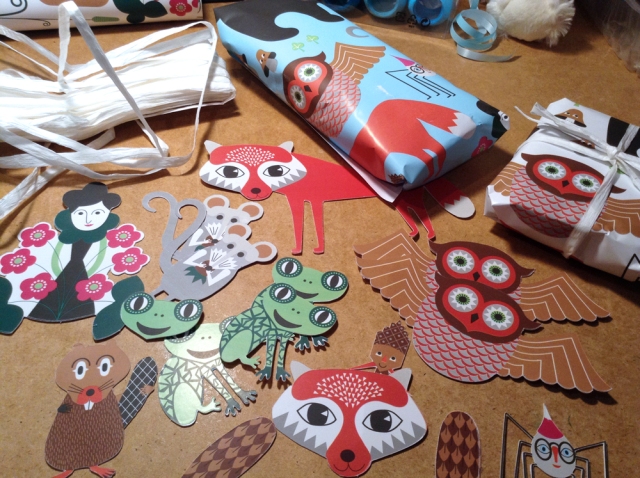
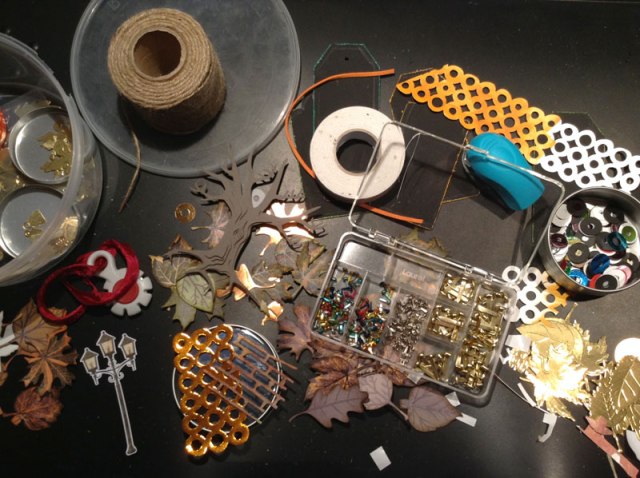
Here I’ll give you a little impression of my workspace. Usually it is more loaded with stuff though.
I needed a photo for my book and cleared everything, that did not look like a perfect designers desk 🙂

curio_on_the_desk

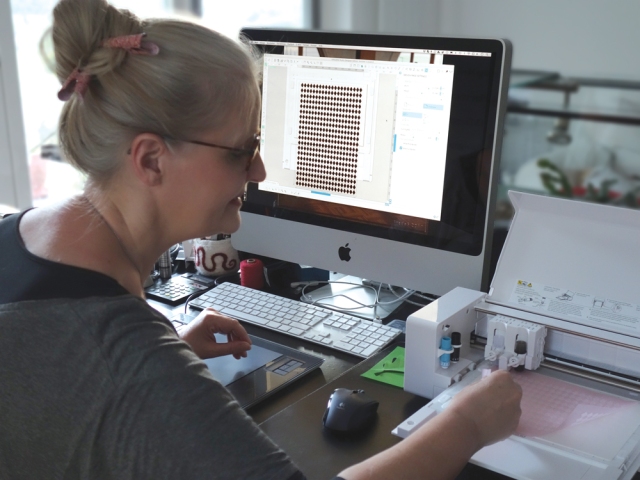
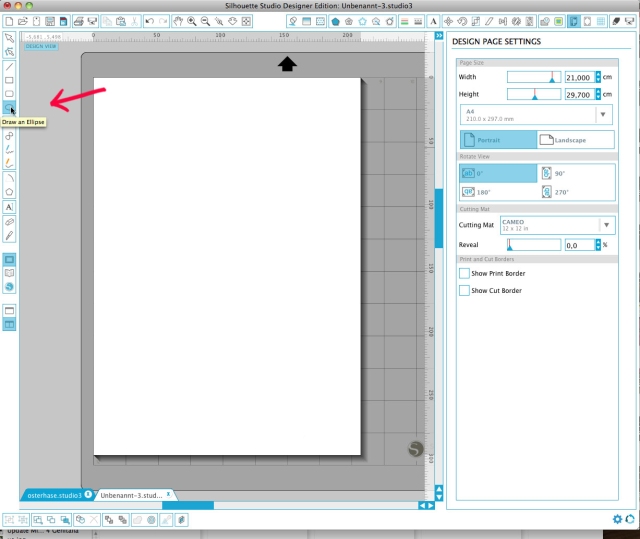
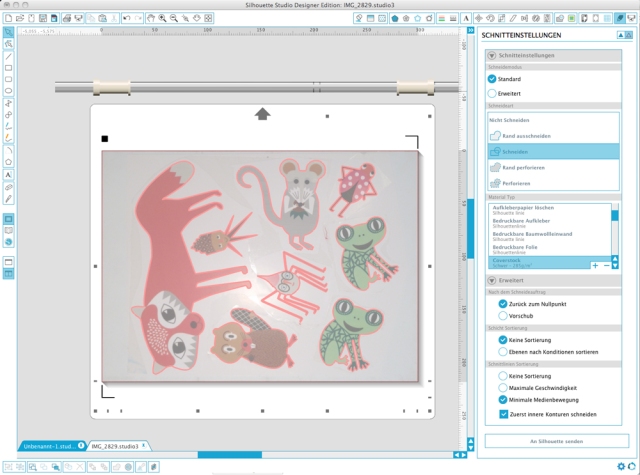
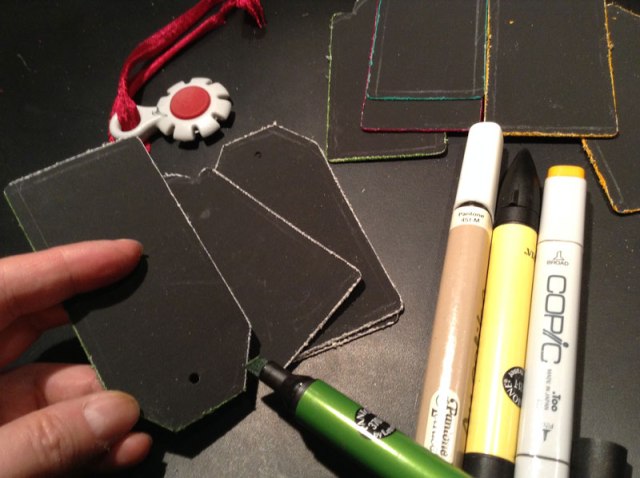
I find the new features in Silhouette Studio® confusing. It is only 2 icons in the menu, but there are so many options behind it. I experienced, that if you want to make deeper embossing lines you have to go over the same lines again and again. So I tried, if I can do this with the well known sketch functions of the DE Edition, too and indeed, this works!

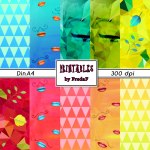
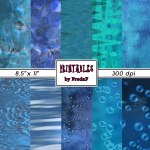
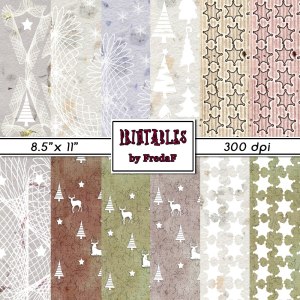
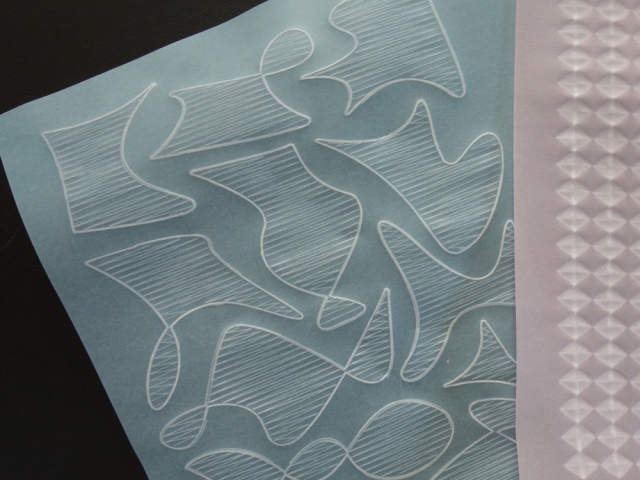
The blue paper I did with sketch lines, the rose paper I did with a simple stencil design and the new embossing function. The paper feels great. It’s got a real 3D touch. It is curling a bit, so lets see how to use it…

embossing_with_Curio mit_Curio_geprägt

After 2 days of playing I can say, the Curio is not a replacement for the Cameo, if you love big projects.
But if letter size is ok for you it is a perfect companion with so many options. It is cutting perfectly, also on the embossing mat, so you do not have to change it, when you are cutting and embossing in one step.
It is sketching and making perfect score lines. For embossing you may not have too high expectations. You need to have the right material and the right settings combined with the right designs and patience to get great results 🙂

But you can creatively combine all those techniques. You can print and cut and there will also be a PixScan mat available soon.
So after a bit of a difficult start I love this new member of the Silhouette family, too.

Folded fish bowl cards from my own printed papers and cheese packages

While I mostly used white card stock for the basic folded greeting cards yet I just found out how great it is to use my own printed papers, because they are white inside and beautifully patterned outside.
I use light card stock to print the letter size sheets. Then I fold them and run them doubled through my Big Shot die cutting machine. I once invested in a set of simple rectangle dies with a small embossed edge and I use them all the time.
You can align the folded card stock just before the die cut line. This is how you don’t cut the edge.

Then I used some clean plastic cheese packages to make “glass” layers for the fish bowls with different Tim Holtz dies.
The fishes are from my fishes collage sheets cut with the Silhouette Cameo. The bird is one of Stamper Anonymous Bird Crazy stamp.

Have fun!

fishcards1

fishcards

fishcards5

fishcards4fishcards3fishcards2

Ressources used:

digital papers floral circles  kissed_paper  water-papers
ladyfishes7  coldwaterfishes4  digital_collagesheets  bird_crazy

Bird Crazy – crazy birds

After a bit of a hard time the past 3 weeks I treated myself with the lovely stamp set from Stampers Anonymous by Tim Holtz. I was extremely happy, that I got them at all in Germany, where we get all new things 1 year later usually.
So just before the weekend I got my little package and started directly stamping and painting. I also got back my good mood directly. I am not much of a stamper, but these little character birds are just too cute and funny and it was so relaxing to sit in the sun messing around with color.

Tracing and cutting with my Cameo worked very well with PixScan. Then today I made some cards for next weeks birthdays, a mix of Cameo-cut words, parts of my own collage sheets and die cut elements out of my Bigshot. Now my workshop is a mess! So I start the new week with tidying up…

Have fun!

Angelika

bird_crazy7
bird_crazy6
bird_crazy1 bird_crazy2 bird_crazy3 bird_crazy4 bird_crazy5

Easy beginner tutorial on how to make your own easter bunny family in SilhouetteStudio

There are so many designs for your electronic cutters for sale and also for free.
Anyway I find it cool to make my own designs and I encourage everyone to do this, too. SilhouetteStudio is a perfect tool and with some simple steps you got something with your own personal touch.

With easter ahead I show you how to make a simple but cute bunny shape to be used for all kind of crafts and gift packaging.

Have fun!

osterhase

1.
You open your SilhouetteStudio, chose your mat and paper size.

easterbunny01

2.
Select the “draw an ellipse” tool and draw an ellipse by dragging the mouse to the size and shape you like.
This will be the body of your bunny.
Then draw another ellipse or circle slightly overlapping. This will be the head.

easterbunny02

3.
Draw another little ellipse which makes the foot.
Then open the Replicate Window. This is the one on top, that looks like a little flower.
Expand the advanced options.
With the foot selected chose “custom position”, set the x Offset to -6,5 cm ( or 2.5 inch) and click “replicate”.

easterbunny03

4.
If the second foot is not perfect in position you can adjust it now.
Be aware it is not about perfection. All those little irregularities are giving your drawing that personal unique touch.

easterbunny04

5.
Now we’re going to draw the ears.
Select the “draw a curve shape” tool and click once left top into the head circle.
Go a little higher and to the left, click, go higher to make the top of the ear and click.
Then go down to the start point to close the shape.

easterbunny05

6.
Do the other ear the same way.

easterbunny06

7.
Select the right ear and with the little green dot you can rotate it.
Then move it more to the right so the ears do not overlap.

easterbunny07

8.
Make sure you’re in “edit” mode.
Draw a big frame around all your drawing/shapes to select them all.
Then click the “weld” function at the bottom left of your screen. This will weld all your shapes to one silhouette.

easterbunny08

9.
Draw a circle for the tail and move it away from the main shape. Otherwise you will get a big hole instead of a cute tail.

easterbunny11

10.
Now that you know how to draw easter bunnies why not make a whole family?
If you are lazy you can also just copy and mirror one and adjust the sizes

easterbunny12

11.
Save your work.
Make sure the lines are set to cut.
Chose the material in the material type window and adjust the settings and blade.
Load your mat with the paper into your cutting machine and send to Silhouette.

easterbunny13

12.
This is what you’ll get…
Once you have cut one set you can use the waste as a see through template to chose patterned paper and see in advance how the bunnies will look like, very handy for big patterns.

osterhase15
osterhase16

For the samples I used my printable spring papers:

circle_stripes_digital    ticktock

Gift tags and stickers from Ikea gift wrapping paper

I just couldn’t walk by that beautiful paper when we were at IKEA lately.
I thought these lovely animal illustrations are perfect to be cut into matching tags and stickers.

This is so easy with the Silhouette Cameo and the PixScan mat.
You can do it with any kind of gift paper also with used one.

Have fun!

making_gifttags

gift_tags_packages

First you roughly cut the motifs you like and fix them on double sided adhesive sheets. I used those from Silhouette and they are working great as expected. Just take care, that the “full sandwich” will not be too thick.

making_gifttags1

making_gifttags2

making_gifttags3

Then you make a pic with your smart phone, tablet or scanner. It should be as bright and as straight as possible.
I tried to fool Silhouette Studio with making the pic upside down. You can see the arrow on the mat pointing down.

making_gifttags4

Then you fire up SilhouetteStudio, click pixscan (the 3rd icon top left) and import your picture.
SilhouetteStudio is not to be fooled 🙂 It turned the pic perfectly all by itself!!! Very cool.

making_gifttags6

Now you create your cut lines by tracing or by drawing them by hand. Please save the file so you can use the outlines for the motifs later for your next pic or scan just by copying it into the new file/work space.
Take care, that your cut lines are set to “cut” in the cutting menu.

making_gifttags7

I had huge problem to have the registration marks read so after some research I knew you have to keep a distance to the left mark on the machine (see arrow) when you feed in the mat.
Maybe this is just a bug and will be resolved once.

making_gifttags5

Now you can check your cut settings and send to Silhouette to start cutting.
I used much too thick card stock and had to repeat the cut several times, but in the end I had beautiful stiff animal cards, precious enough to be used over and over again.

For the stickers you put the motifs fixed on the double sided adhesive on the pixScan mat and adjust your cut settings to sticker paper. I will use mine for solid color gift packages later.

Good luck with your own projects!

gift_tags_packages1gift_tags_packages2


Natural christmas and winter gift tags

Natural christmas and winter gift tags made from my printable spirograph paper printed on structured card stock.
The tag shapes I made in Silhouette Studio. You can get the cut file as a freebie from my previous post.
The embellishments are a wild mix of die cuts and machine cut elements I store in transparent candy boxes sorted by theme.

spiropaper-tags2

spiropaper-tags1

spiropaper-tags

Ressources I used:

neutral natural printable christmas papers blätter_offwhite schneeflocken Adventskalender-zahlen-duenn1
santas-helper-collagesheet letter_to_santa snowflakes_25er1 Adventskalender-zahlen-elegant1


Snow flakes freebie cut file

Last weekend I’ve been invited to a crafts trade show “Kreativ Tage Berlin” to show the making of my designs I create with the Silhouette Cameo. This was a wonderful chance for me to go in public and to meet users in my own region and I never expected there were so many!
The host company Kreativplotter.de gave me a brand new Cameo to play with so I could try the new touch display. I directly fell in love with the “repeat job” field, so simple and I need this all the time. The new USB slot is very handy while the SD card was a bit little and old fashioned. Apart from that and a new look the machine is almost the same. I don’t think I am going to replace the one I have as long as it is working well.

But I looked at all the Silhouette material I’ve never seen in real and at techniques I’ve never used like cutting fabric, heat transfer, vinyl.
And after I got a presentation of how the pixscan works and what you can do with it I HAD to HAVE a pixscan mat! What a cool thing!!!

I made a lot of new things for the fair and some files in Studio especially for this event like these snow flakes.
It is one page filled with snow flakes of different shapes and sizes. They are cutting very well with white card stock even if they are small.
You just click to download here:
snow flakes .studio file

It looks as if I will have more german followers now. So I started to create another blog in german language. There are not too many informations and tutorials for the Silhouette software and machines in german so I plan to focus on Silhouette related things and tutorials more while I focus on artistic things more on my english blog.

I added a link to my new blog at the top menu for those who want to follow.

Happy crafting!

paper snow flakes

Falling Leaves

You just cannot ignore it anymore even if we had a wonderful sunny and warm weekend.
But it is fall. And I don’t like fall. I am a spring girl, I also love snow and I love warmth, but I don’t like the plants in my garden and everywhere around me dying, not at all…

However, moaning doesn’t help, so I kept myself busy and created a set of fall leaves from paper to make some warm rich overwhelming beautiful fall tags using my new leaves dies from Taylored Expressions (ordered from USA and every Cent for petrol to get them from far away out of the customs office was worth it! ). The tree I’ve cut with my Silhouette Cameo from a cutting file I made myself a while ago. And for the photo background I found a gelli print in matching fall colors.

I hope you love fall more and enjoy the rich season!

tag_making1

mixed_bigpack

tag_making

tag_making2

autumn_leaves_tags3

autumn_leaves_tags2


My guest post on SpiroGraphicArt.com – Five fun uses for your spirograph doilies

A big thank you to Heather from SpiroGraphicArt.com to offer to me to make a guest post on her informative and beautiful blog about spirographs.

Here is a little screenshot. Just click the image to read further. I have collected and tried some ideas how to use all these beautiful circles you can create with a spirograph.

Have fun and a great sunny Sunday!

Angelika

fun uses for spiragraph circles