Material shopping at the crafts show and my first project: a new iPad mini cover

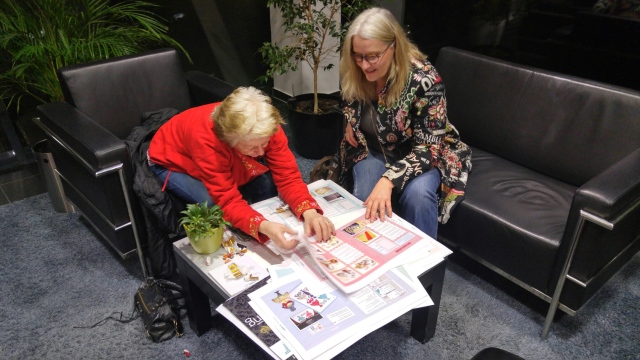
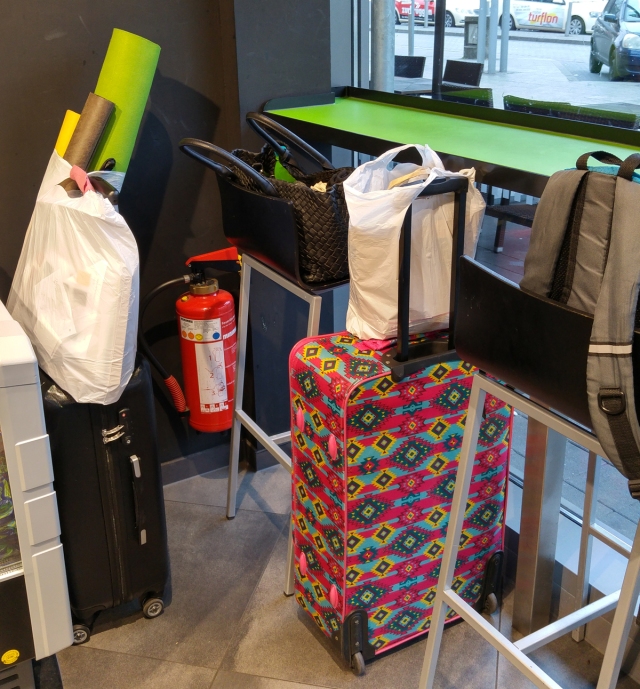
Two weeks ago I spent 4, yes, four luxury days at Germany’s biggest crafts show CREATIVA together with a crafty friend. It was great to have enough time to look at everything without a hurry and not having the need for “panic purchases”. The only limit was the luggage, because we have been there by train and had to carry everything back to Berlin ourselves (a big thank you to the inventor of the suitcase on wheels!).

It was pure seduction and I discovered sewing again for me, which I haven’t done in ages. I loved the great choice of coated fabric for bags and purses, beautiful thick jacquard pattern fabric, faux leather, cute ribbons and colorful felt.

I learned about a new felt technique and bought dutch hand dyed wool. I will write about it when I tried it being able to show first results.
So our suitcases were more than full, deposited at the train station on the last day and we still came back with a big bag on top to go home. Then unpacking and showing of our treasures was just a little bit like christmas and I did NOT forget to bring gifts (which also reduces discussions about quantities of more or less necessary new crafts materials…hahaha….)
creativa2016

All new materials and techniques can be combined with electronic cutting, still my first passion, very well.
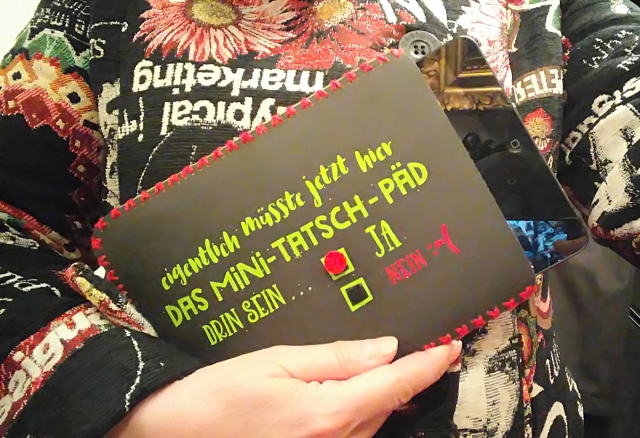
So I started first to create a new cover for my iPad mini, which I needed urgently, because my existing one falls apart.
ipad-Huelle-benutzt
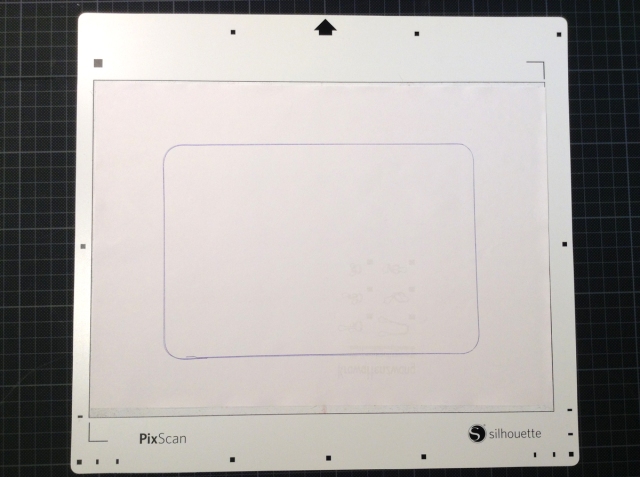
First I have drawn around the iPad and imported the correct shape and size via PixScan mat into Silhouette Studio.
ipad-Huelle-pixscan
Based on this pattern I added an outline and the holes for sewing, created a fun german word art and colored the design to find the colors I like most.

ipad-Huelle-Datei

ipad-Huelle-material

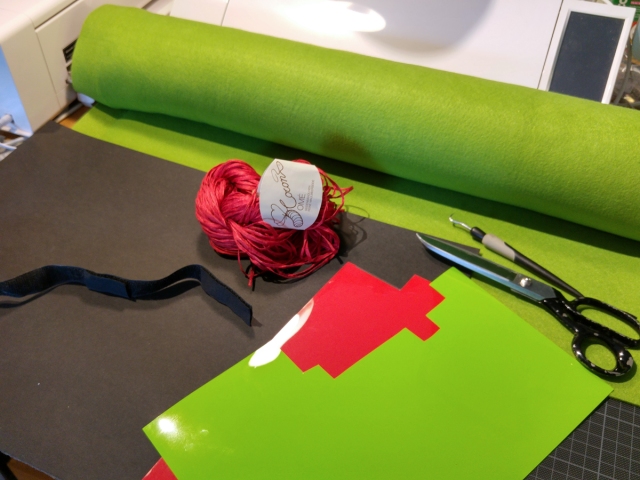
Next I cut 2 pieces with my Silhouette Cameo from faux leather paper (called SnapPap in Germany and similar to the Silhouette Vegan Faux Leather)

ipad-Huelle-snappap

The 3mm thick green felt I cut with the Silhouette Curio with the deep cut blade. Of course it only cut 2mm, but did this very well. This way I had a clear shape, a deep cut line and I could cut the last 1m just with a scissors by hand.

ipad-Huelle-curio

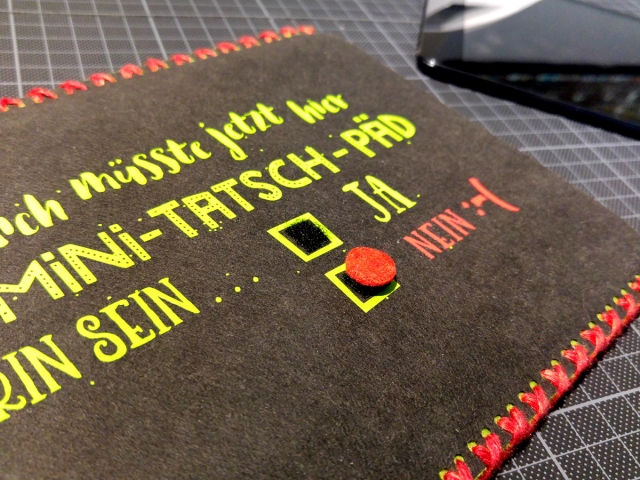
Then I have stitched together by hand all 4 layers through the holes with a big needle and a thick silk yarn, originally meant for knitting, with a zigzag stitching. With the help of two little pieces of Velcro I made a dot to fix with “yes” or “no”.
Now the iPad is well protected when thrown into my handbag and eye-catching when lost in the crafts room mess.
I really hope this works, because I am searching for it too often …
ipad-Huelle1

ipad-Huelle


New year, new order

January is always a month to put things in order for me.
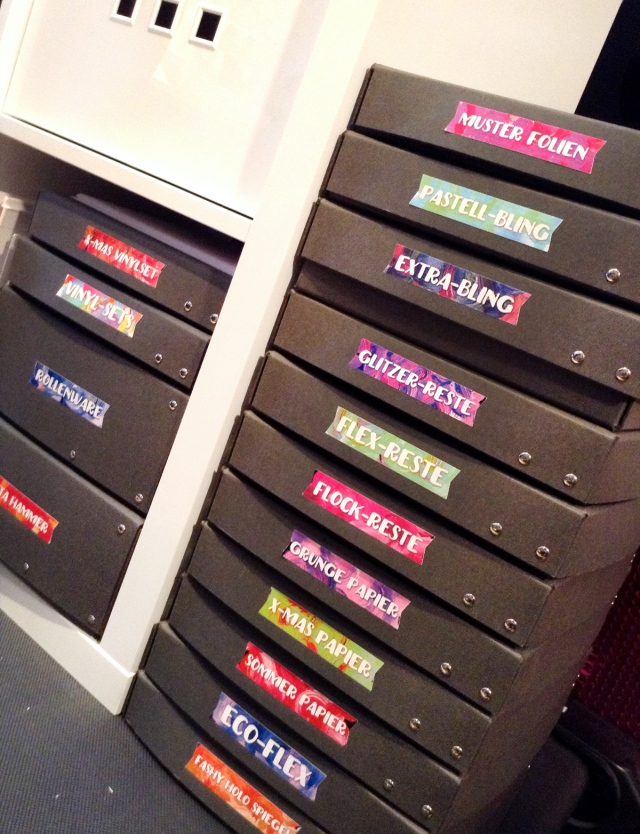
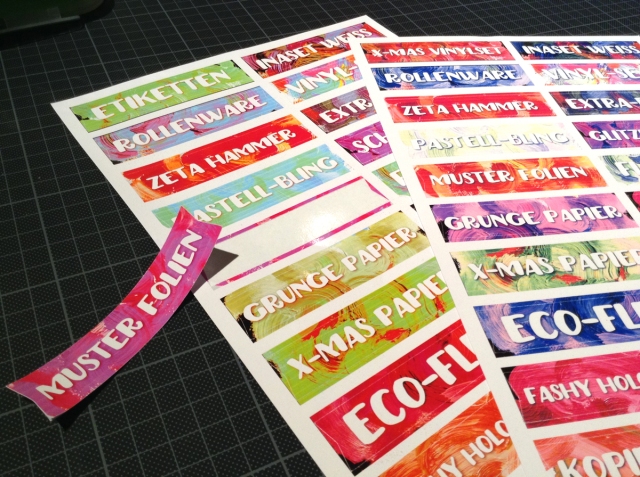
Christmas madness is over, my workshop is one big mess from too much work and never enough time. With constantly adding new products to my shops and a growing warehouse I also had to find a new system. So last week I went through the shops to find those beautiful black boxes, perfect for A4 and letter size vinyl, heat transfer sheets and papers.

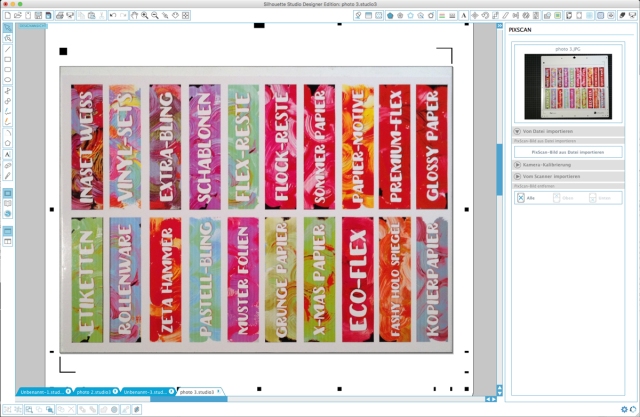
Yesterday I was playing in Photoshop what I didn’t do since weeks and was playing with some new resources from designcuts.com (the painted background graphics and the beautiful thick art font). What a relaxing day!

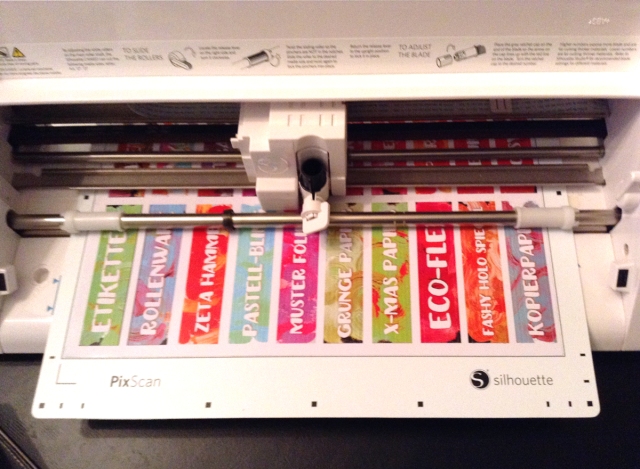
I created some sheets of stickers on glossy self adhesive photo paper, then put them on the PixScan mat and cut them with my Silhouette Cameo®.
This worked perfectly with the blade set to 1.

Combining fun and relaxation with creativity and something useful is what I like most.

Have a great day, too!

Angelika

labeling_black_boxes

stickers1

stickers2

stickers3

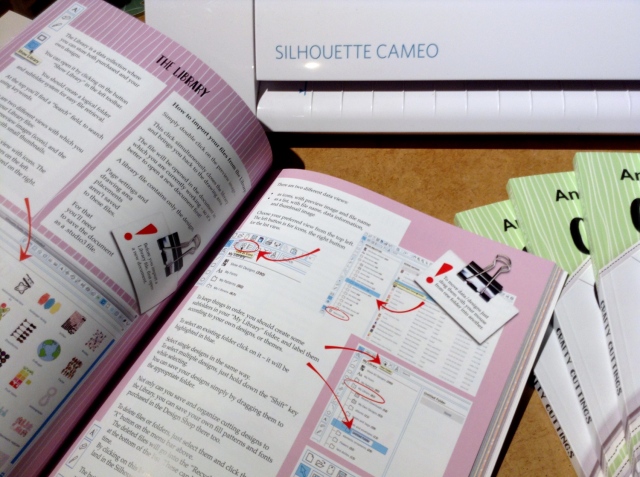
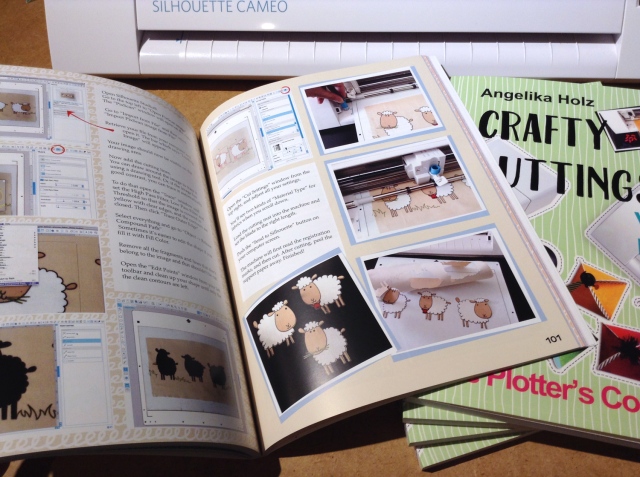
Almost there, the english version of my plotter book

Last night I got some first books to check if everything is fine, before the whole quantity will be bound.

This was so exciting!!!

The Germans are full of praise about “Frisch Geschnitten” and I am so happy about the good reviews.
It was like a miracle, that I met Lesley, a wonderful translator, right in time to translate the book.  While she was busy with the text I was reworking all screenshots, photos and some of the projects.

It was almost impossible to get this done before christmas, but we did it. The night before it had to go into printing we had the last phone call at 2 AM. And in the morning just before uploading the final file my patient partner with the sharpe eyes found a thick fat bad mistake…waahhhhhh…sometimes you just overlook the most obvious things…
In the beginning of next week the books are ready to be delivered. And I hope that many english speaking people also love the playful step-by-step instructions on how to use your cutting machines to its fullest.
For preorder you can go to my Etsy shop or Amazon.co.uk.

For now the books will be sent from Germany. I will carry part of the shipping costs, so this is affordable.
Later we see if there are better ways to deliver the book internationally.

Have a great weekend!

Angelika

craftycuttings1

crafty cuttings plotter book

printingcompany

T-Shirt decorations with heat transfer material and Silhouette Cameo

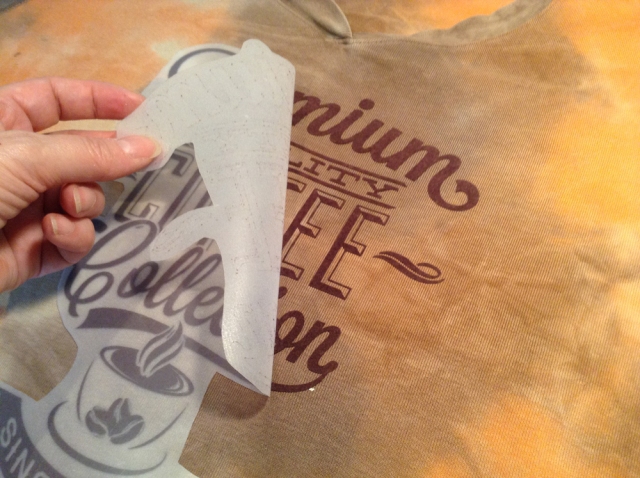
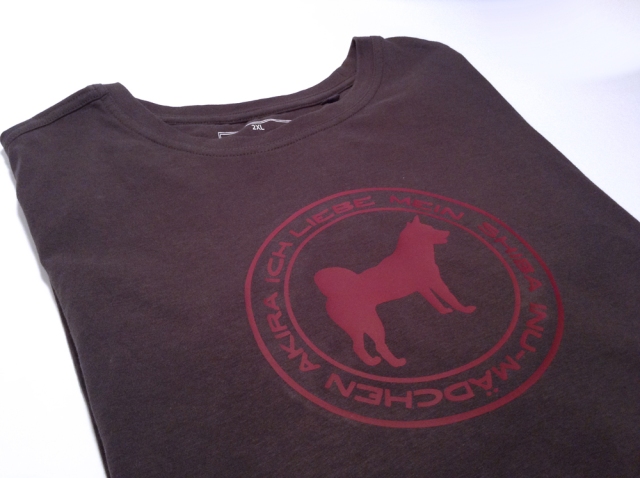
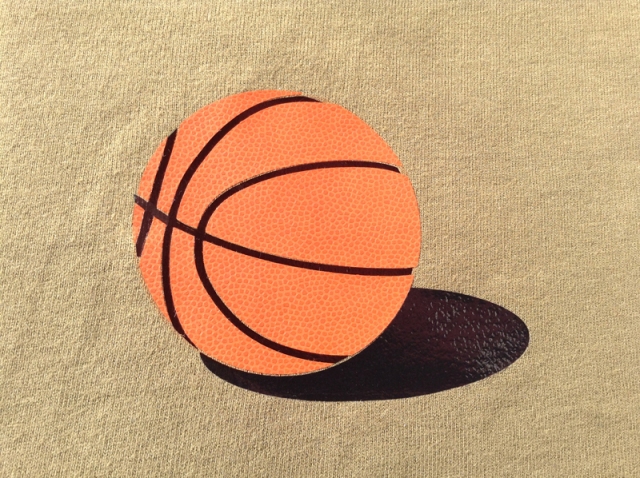
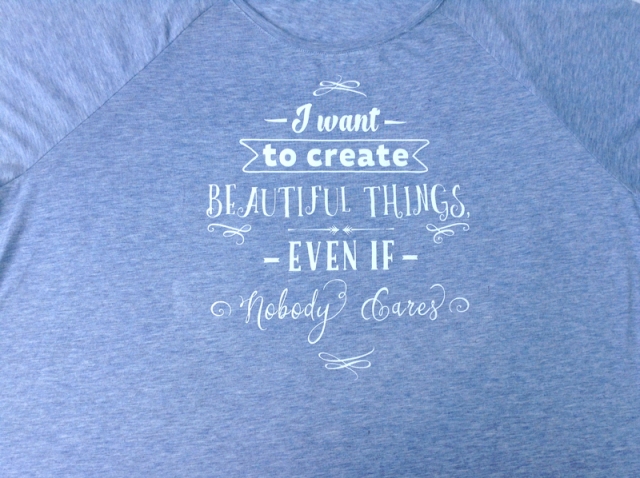
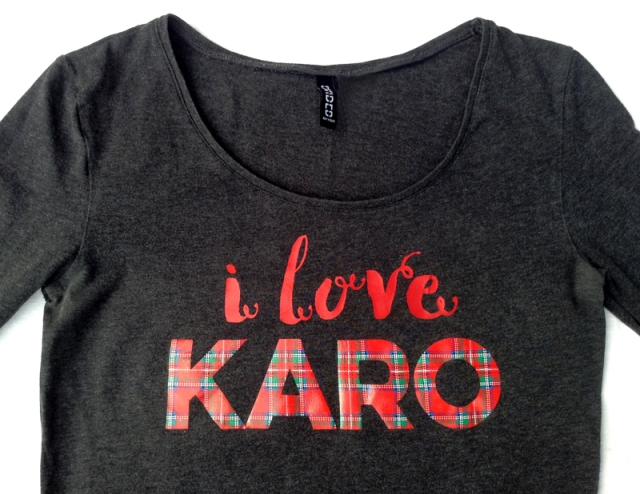
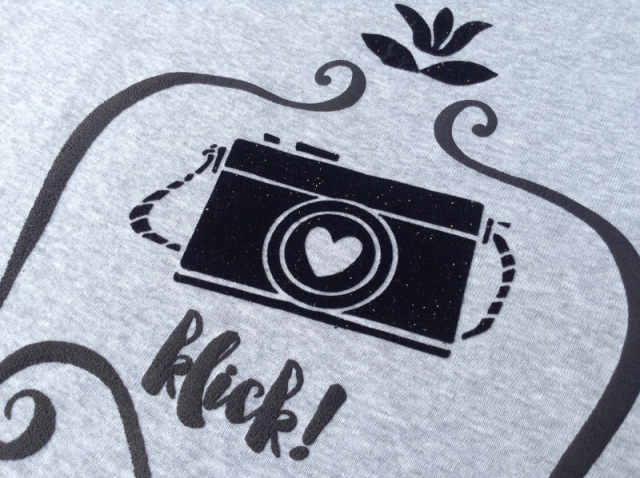
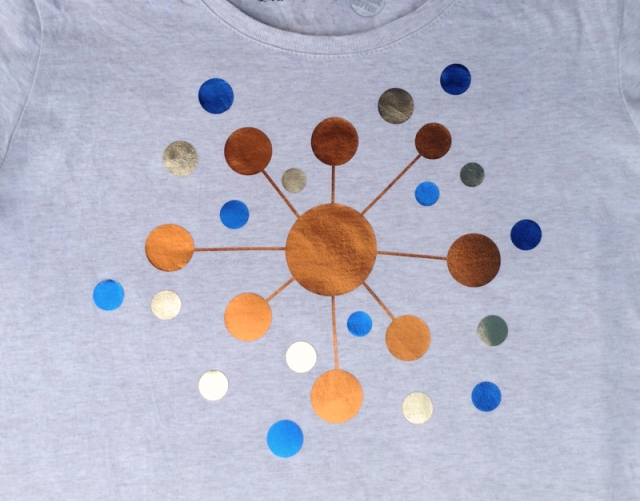
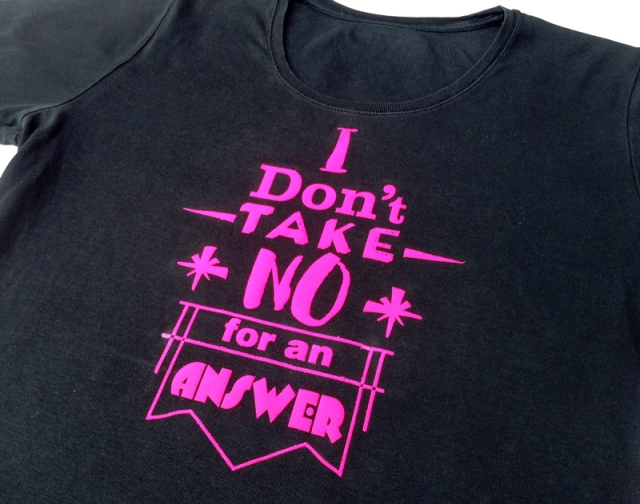
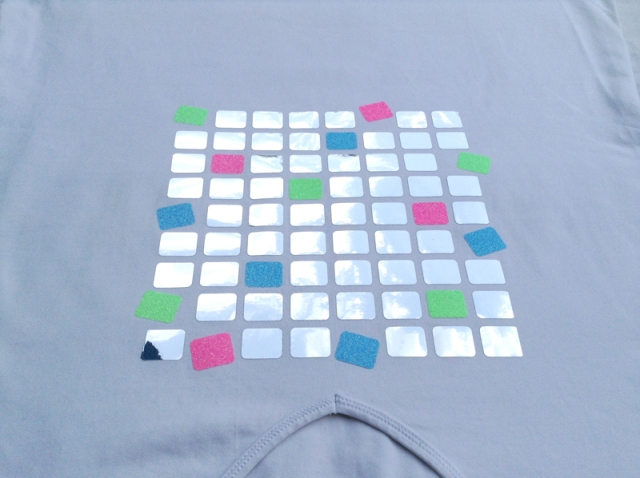
To try and test all the various heat transfer glitter, mirror, basketball structured and velvet materials available I went through my closet and just used some old t-shirts (just in case I damage everything….lol…), but I must say it was big fun and they all look so much better than I ever expected. I LOVE to wear them and nobody can see they are self-made.
Some are even washed 2 times and the film is still fixed perfectely.

My favorite is the neon pink “No No-Shirt” and the one with the coffee advertising.

Have a great Sunday!

Angelika

coffee-t-shirt shiba-inu-t-shirt

basketball beautifulthings IloveKaro Kamera Kreise-Muster Neonflock spiegelfolie

Fruity shopping bag with heat transfer material

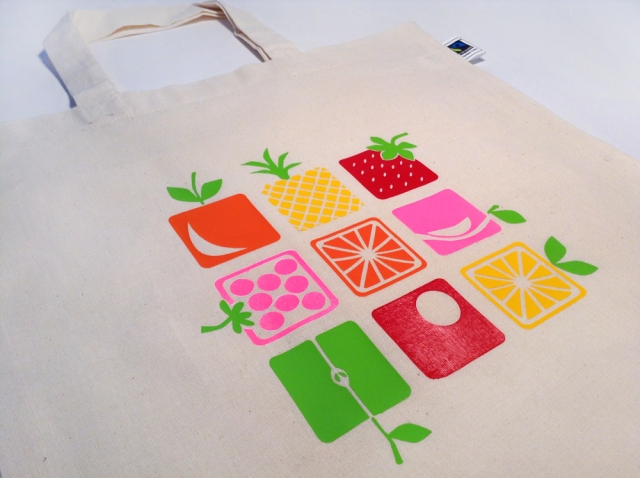
Playing around with Adobe Illustrator and inspired by our apple tree in full bloom in front of my office window I created these fruit icons to try heat transfer. I am not very experienced with thermo transfer material so I didn’t want to ruin a whole shirt.
Shopping bag and fruit – this fits. I got some of those handy plain cotton bags as a gift from a fabric supplier lately. Thank you!!!

Thermo transfer is big fun and not that difficult. You have to try it if you have an electronic cutting machine.
You don’t need much more, just a textile to decorate, the thermo transfer film, an iron, baking paper and patience.

But don’t forget to mirror your motifs. They will be applied upside down!

fruit-icons-bag2

First I opened my design file in Silhouette Studio. As I had it in .svg format I had to ungroup the single motifs.

fruiticons

Next I colored the single motifs by filling the shapes to have a better overview of the colors I want to use.
Then I sorted the shapes so I could separate them and cut them color by color with my Silhouette Cameo from the thermo transfer film.

To do that I deleted all the colors, but just kept the color to cut first, moved the motifs to the top (to save the precious material). I saved the file and renamed it to the color I used (fruit-icons-green…).
After cutting I got all motifs back with the undo button (my best friend!)

Then I kept the color I wanted to cut next and deleted all others, saved the file and did undo I get them all back.
Step by step I got all the icons cut in different colors this way.
Maybe there are more quick and easy ways to do this, but it was my “don’t think too much relax Saturday” 🙂

fruiticons1

I cut roughly around the motifs with a scissors.
Then I weeded away all colored material around the motif with a hook, so there were only the icons and leaves left sticking on the transparent transfer material.

fruit-icons1

I started with the icons, arranged them on my bag, put baking paper over it and did the ironing.
You have to put your textile on a hard ground to have enough pressure. You press the iron onto the textile for a certain amount of seconds depending on the materials (as hot as possible). For the neon pink the heat was too much and the white glue ran out under the pink. So it’s always better to make a test with a little left over.

fruit-icons-bag

Next I added the leaves, placed them and ironed them with much pressure until they were fixed, too.

fruit-icons-bag1

premiumflex_bw_tasche

Little stickers for labeling cards – made with the Silhouette Cameo

I often get the question where I got those beautiful cards from.
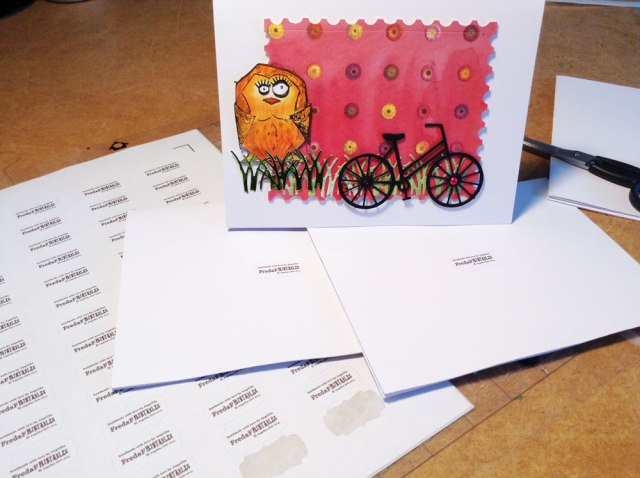
So I thought of creating some quick stickers to have it easy to mark the cards with a little “made by Angelika” with my logo and tiny copyright sign.

I set the words and graphics up in Photoshop to fill a whole page and imported the .jpg into Silhouette Studio.
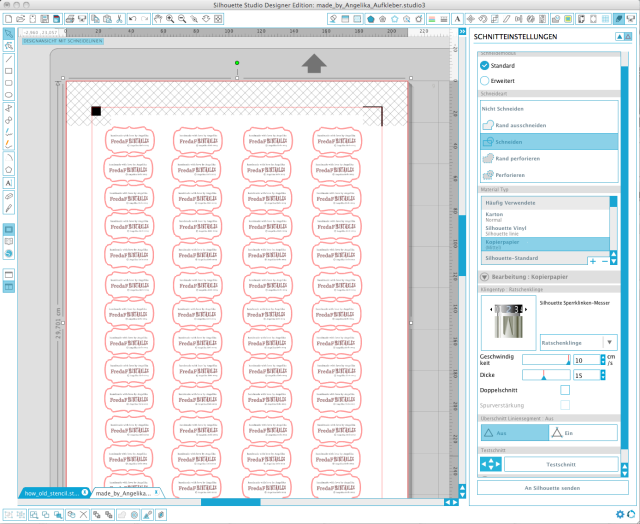
Then I copied the shape of a label I previously created into the workspace, adjusted the size and replicated them to fit the words. I activated registration marks and printed the page.

At last I cut the page with a very short blade and little thickness, so the stickers could simply be dropped from the basic paper. Perfect!

kleineaufkleber kleineaufkleber1

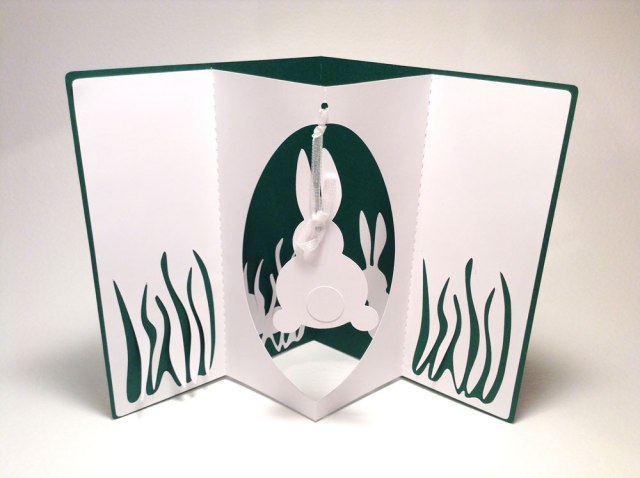
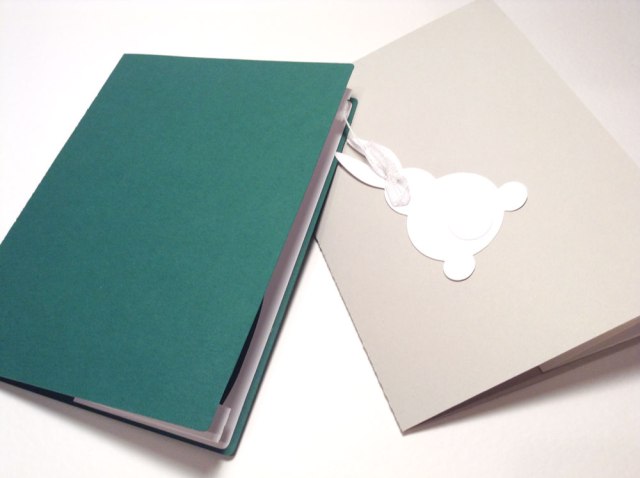
The principal of popup cards and a cut file freebie for Easter…enjoy!

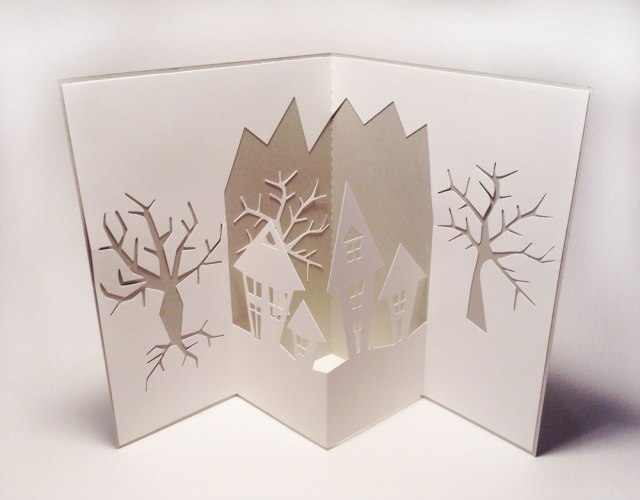
This is a file I created for the course I gave in February here in Germany ( where the Silhouette cutting machines are just getting popular) to show the basics of Silhouette Studio with the example of making popup cards.

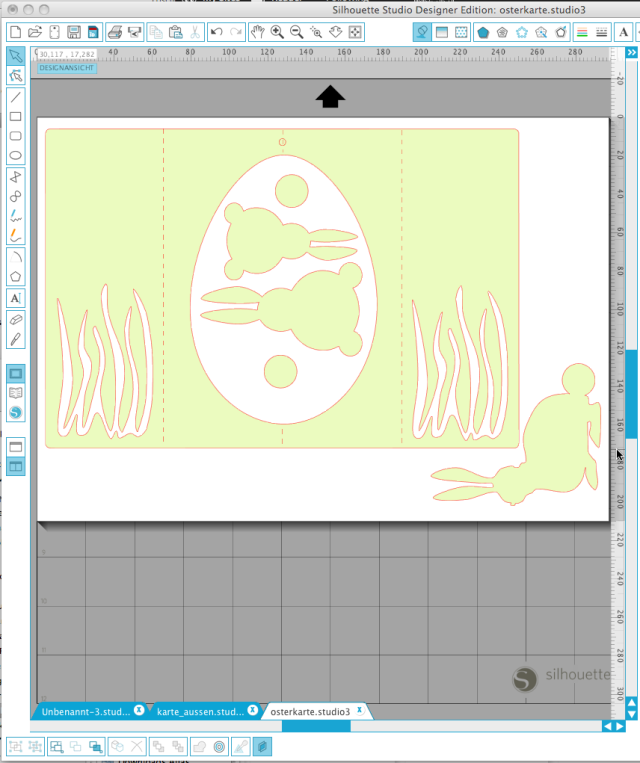
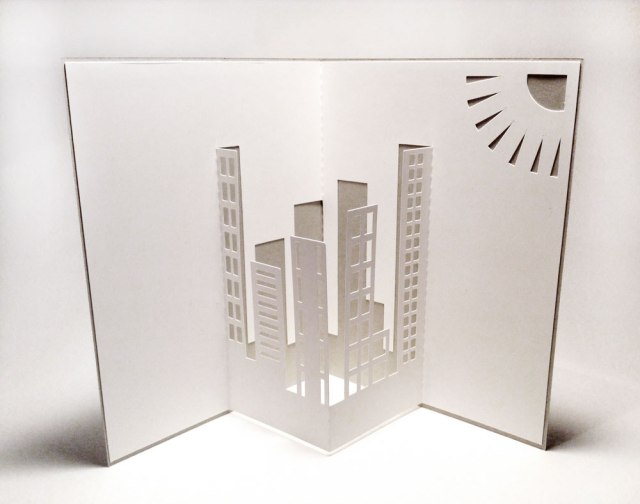
You have to make dashed lines exactely at 1/4, 1/2 and 3/4 of the card. Then you can design the inner part just as you like to pop out.
We made a simple sky scraper card to practice the drawing tools and replicating.

The easter card files you’ll find in a .zip file ready to be cut here:

https://dl.dropboxusercontent.com/u/10714473/Eastercard_Freebie_FredaF.zip

Have fun!

easterbunnycard

easterbunnycard1

Snapz Pro X005

scyscrapercard

whitchhouses-card

Gift tags and stickers from Ikea gift wrapping paper

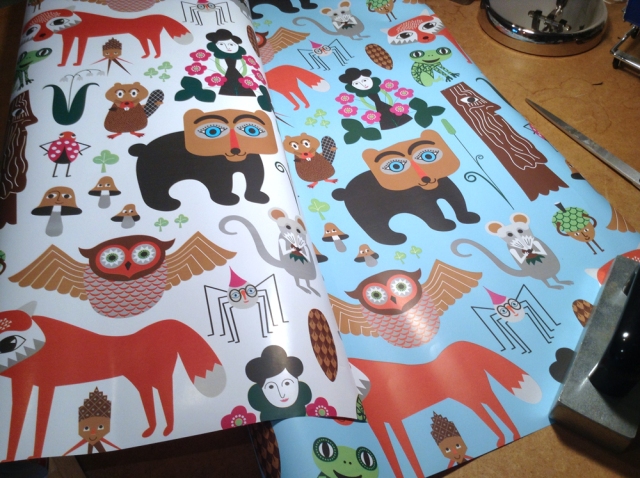
I just couldn’t walk by that beautiful paper when we were at IKEA lately.
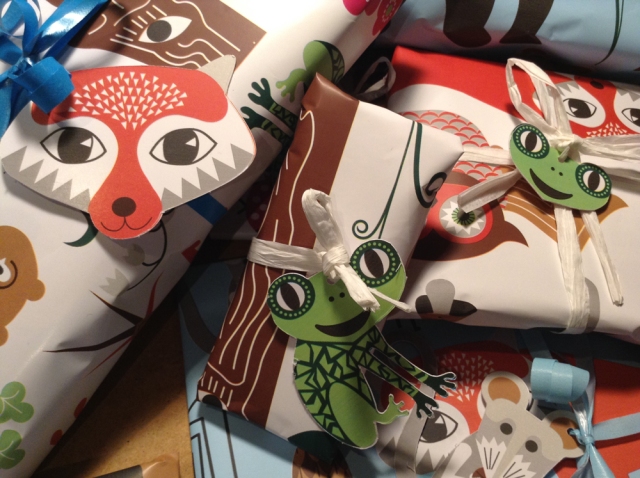
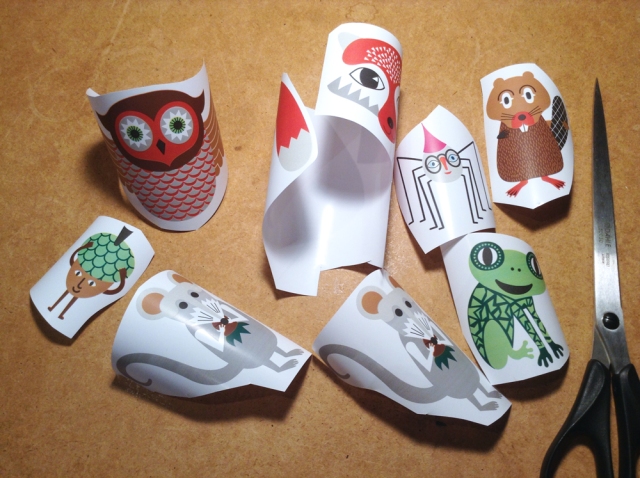
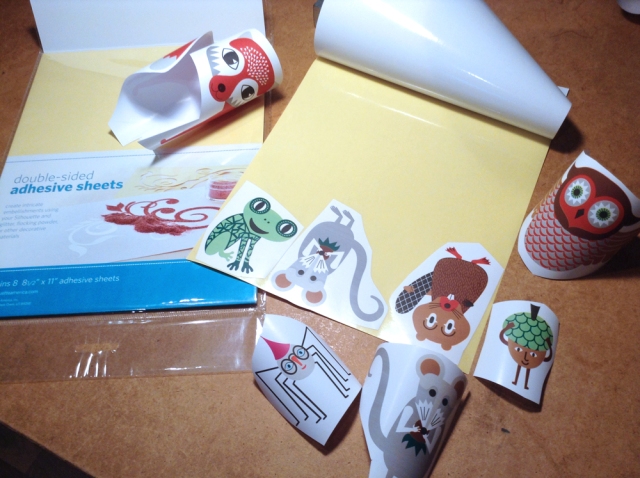
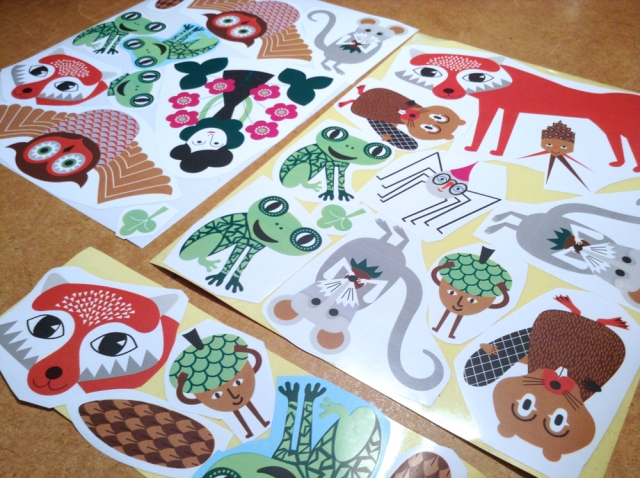
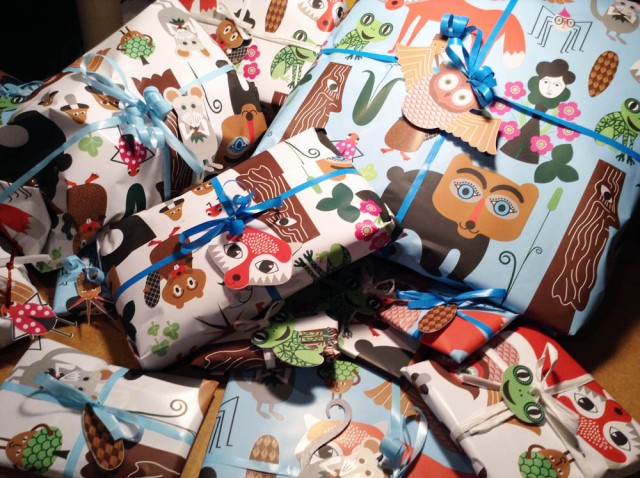
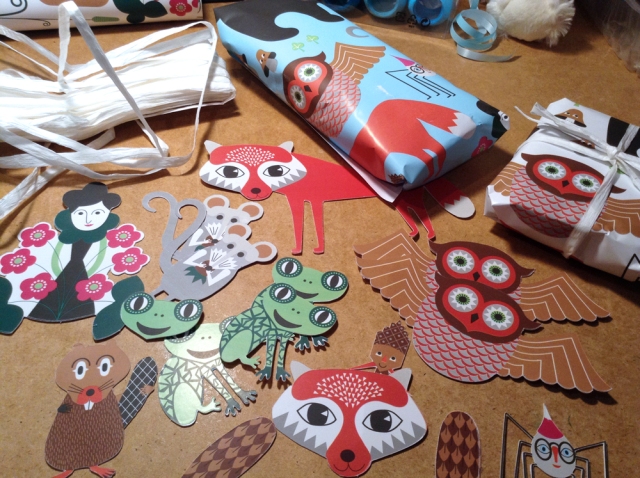
I thought these lovely animal illustrations are perfect to be cut into matching tags and stickers.

This is so easy with the Silhouette Cameo and the PixScan mat.
You can do it with any kind of gift paper also with used one.

Have fun!

making_gifttags

gift_tags_packages

First you roughly cut the motifs you like and fix them on double sided adhesive sheets. I used those from Silhouette and they are working great as expected. Just take care, that the “full sandwich” will not be too thick.

making_gifttags1

making_gifttags2

making_gifttags3

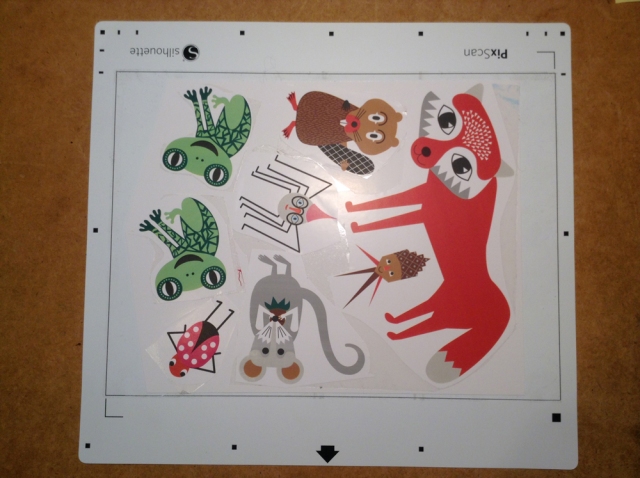
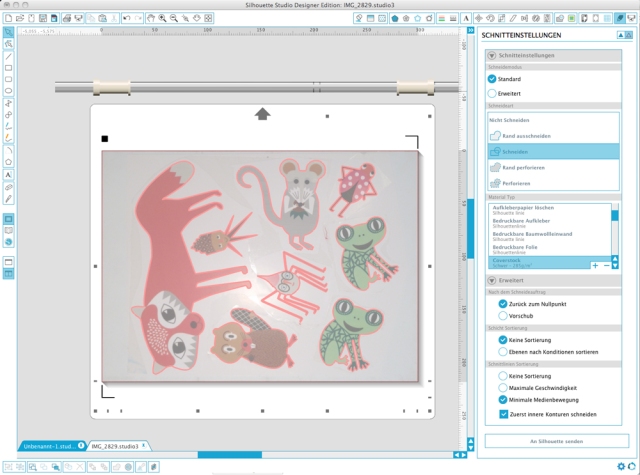
Then you make a pic with your smart phone, tablet or scanner. It should be as bright and as straight as possible.
I tried to fool Silhouette Studio with making the pic upside down. You can see the arrow on the mat pointing down.

making_gifttags4

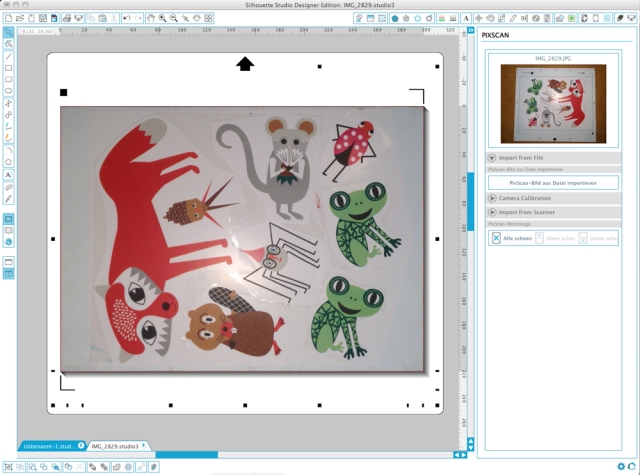
Then you fire up SilhouetteStudio, click pixscan (the 3rd icon top left) and import your picture.
SilhouetteStudio is not to be fooled 🙂 It turned the pic perfectly all by itself!!! Very cool.

making_gifttags6

Now you create your cut lines by tracing or by drawing them by hand. Please save the file so you can use the outlines for the motifs later for your next pic or scan just by copying it into the new file/work space.
Take care, that your cut lines are set to “cut” in the cutting menu.

making_gifttags7

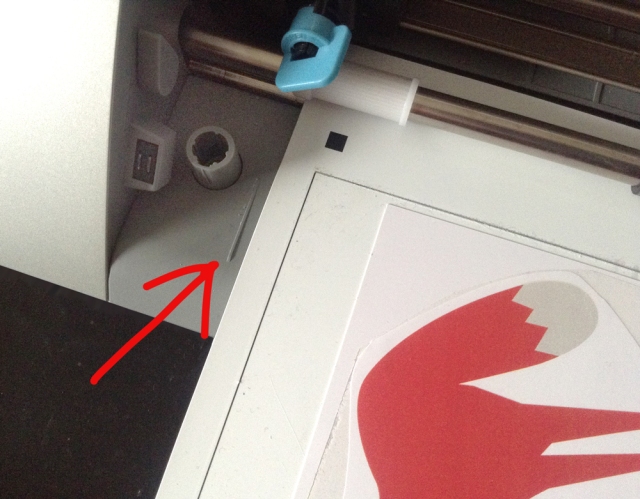
I had huge problem to have the registration marks read so after some research I knew you have to keep a distance to the left mark on the machine (see arrow) when you feed in the mat.
Maybe this is just a bug and will be resolved once.

making_gifttags5

Now you can check your cut settings and send to Silhouette to start cutting.
I used much too thick card stock and had to repeat the cut several times, but in the end I had beautiful stiff animal cards, precious enough to be used over and over again.

For the stickers you put the motifs fixed on the double sided adhesive on the pixScan mat and adjust your cut settings to sticker paper. I will use mine for solid color gift packages later.

Good luck with your own projects!

gift_tags_packages1gift_tags_packages2


Gift tags freebie cut file

I wanted to make gift tags from my latest printable christmas papers. I printed some sheets of my favorite structured card stock. Then I created some simple gift tag shapes in Silhouette Studio, 6 shapes and copied 5 of them to make them smaller and fill the whole sheet and make the most of the papers. Nothing special, but so handy!

The file might be helpful for you, too, so I share it here as a freebie.
It is european DinA4, but with some minor adjustments you can use it with international letter size, too.

Just click to download and enjoy.

gift tags file as .studio

a click on the images lead to the papers.

tags_freebie

tags_freebie1

spiropaper-tags3


Snow flakes freebie cut file

Last weekend I’ve been invited to a crafts trade show “Kreativ Tage Berlin” to show the making of my designs I create with the Silhouette Cameo. This was a wonderful chance for me to go in public and to meet users in my own region and I never expected there were so many!
The host company Kreativplotter.de gave me a brand new Cameo to play with so I could try the new touch display. I directly fell in love with the “repeat job” field, so simple and I need this all the time. The new USB slot is very handy while the SD card was a bit little and old fashioned. Apart from that and a new look the machine is almost the same. I don’t think I am going to replace the one I have as long as it is working well.

But I looked at all the Silhouette material I’ve never seen in real and at techniques I’ve never used like cutting fabric, heat transfer, vinyl.
And after I got a presentation of how the pixscan works and what you can do with it I HAD to HAVE a pixscan mat! What a cool thing!!!

I made a lot of new things for the fair and some files in Studio especially for this event like these snow flakes.
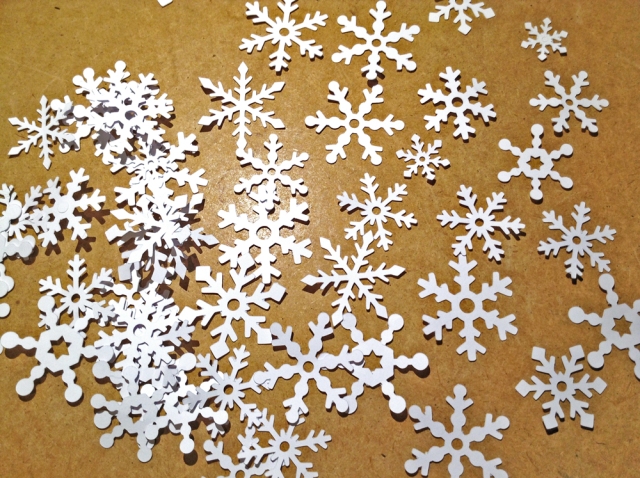
It is one page filled with snow flakes of different shapes and sizes. They are cutting very well with white card stock even if they are small.
You just click to download here:
snow flakes .studio file

It looks as if I will have more german followers now. So I started to create another blog in german language. There are not too many informations and tutorials for the Silhouette software and machines in german so I plan to focus on Silhouette related things and tutorials more while I focus on artistic things more on my english blog.

I added a link to my new blog at the top menu for those who want to follow.

Happy crafting!

paper snow flakes