Wastebasket – sewing project from different materials

Another sewing project from the beautiful materials I lately bought is a new wastebasket, well it is rather a waste sack.
I love it to be soft and flexible and fitting the fun vintage faux wood floor from our new garden house.

I did not make or use a pattern. I just measured and cut the square and rectangles pieces.
The bottom I made from a square vegan leather (SnapPap which is actually paper) and 4 rectangles. Then I added the wonderful jacquard fabric from the crafts show. On top I added a matching piece of faux leather fabric and for the inside I used a piece of silk I found in my stock.
With the Silhouette Cameo I cut and then ironed the word “Papier” on it, which is “paper” in German

Our lovely dog Akira does not trust any box or bag, but when she felt how happy I was with her sitting next to the new sack she started to relax. And in the end she even had fun in the photo session and showed me her typical Shiba smile.

Have a great and crafty weekend!

papierkorbsack2

papierkorb-material

papierkorbsack0

papierkorbsack1

papierkorbsack

Material shopping at the crafts show and my first project: a new iPad mini cover

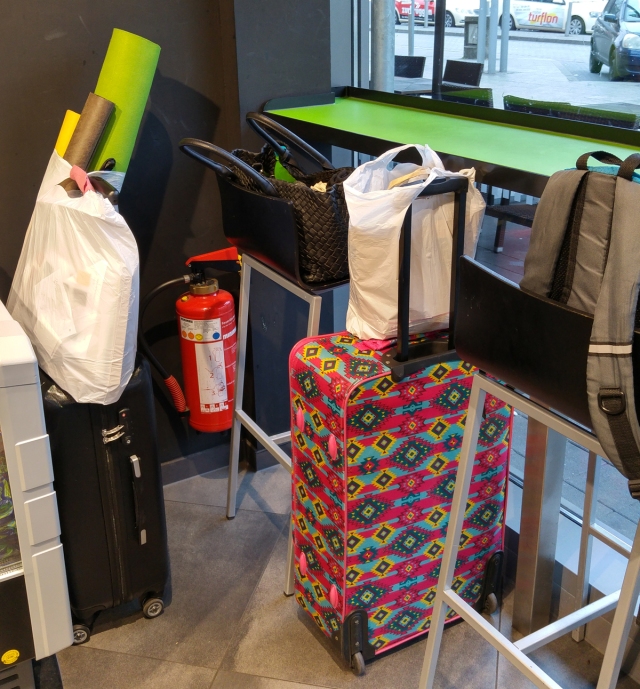
Two weeks ago I spent 4, yes, four luxury days at Germany’s biggest crafts show CREATIVA together with a crafty friend. It was great to have enough time to look at everything without a hurry and not having the need for “panic purchases”. The only limit was the luggage, because we have been there by train and had to carry everything back to Berlin ourselves (a big thank you to the inventor of the suitcase on wheels!).

It was pure seduction and I discovered sewing again for me, which I haven’t done in ages. I loved the great choice of coated fabric for bags and purses, beautiful thick jacquard pattern fabric, faux leather, cute ribbons and colorful felt.

I learned about a new felt technique and bought dutch hand dyed wool. I will write about it when I tried it being able to show first results.
So our suitcases were more than full, deposited at the train station on the last day and we still came back with a big bag on top to go home. Then unpacking and showing of our treasures was just a little bit like christmas and I did NOT forget to bring gifts (which also reduces discussions about quantities of more or less necessary new crafts materials…hahaha….)

creativa2016

All new materials and techniques can be combined with electronic cutting, still my first passion, very well.
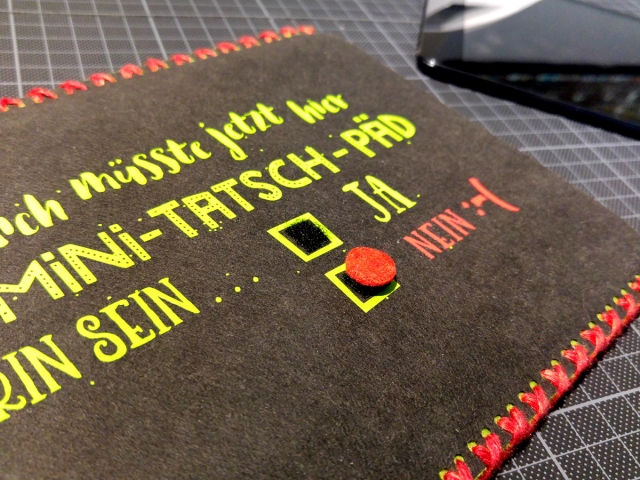
So I started first to create a new cover for my iPad mini, which I needed urgently, because my existing one falls apart.

ipad-Huelle-benutzt
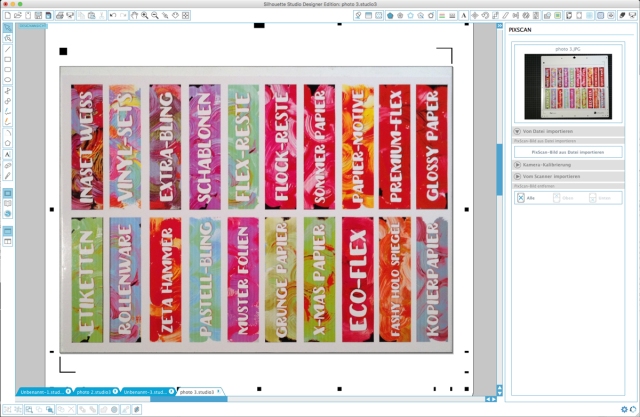
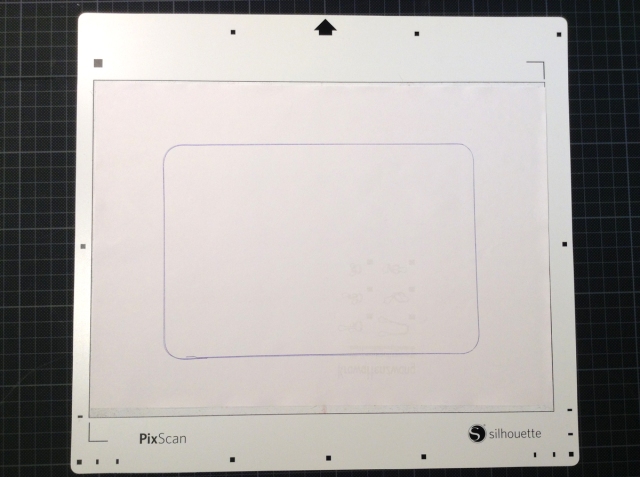
First I have drawn around the iPad and imported the correct shape and size via PixScan mat into Silhouette Studio.

ipad-Huelle-pixscan
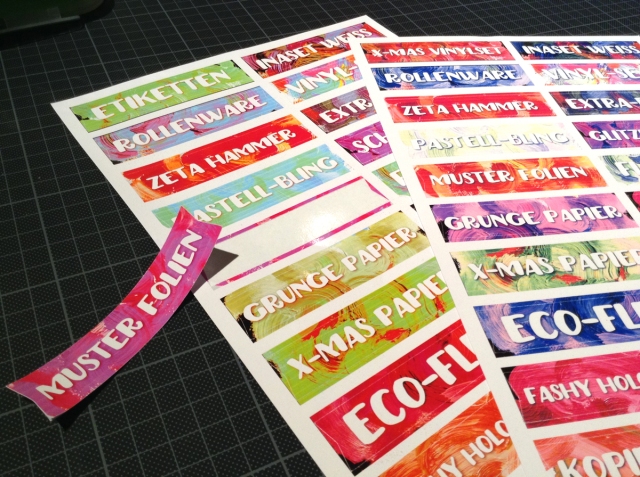
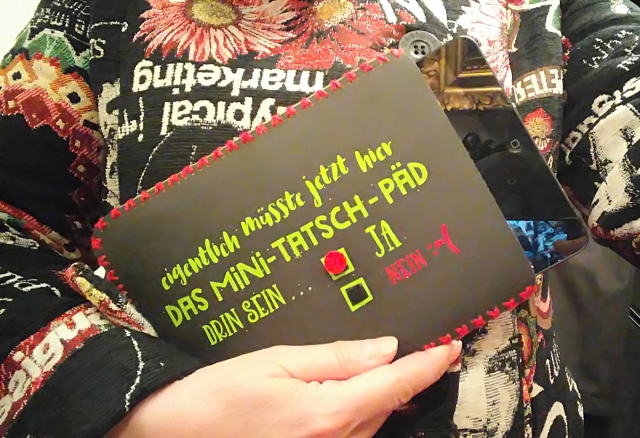
Based on this pattern I added an outline and the holes for sewing, created a fun german word art and colored the design to find the colors I like most.

ipad-Huelle-Datei

ipad-Huelle-material

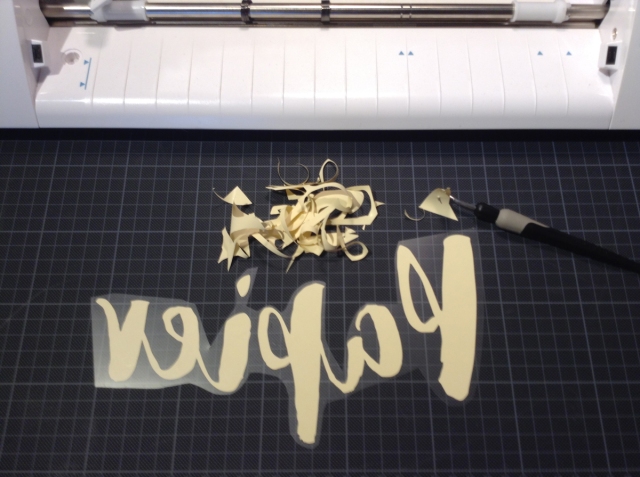
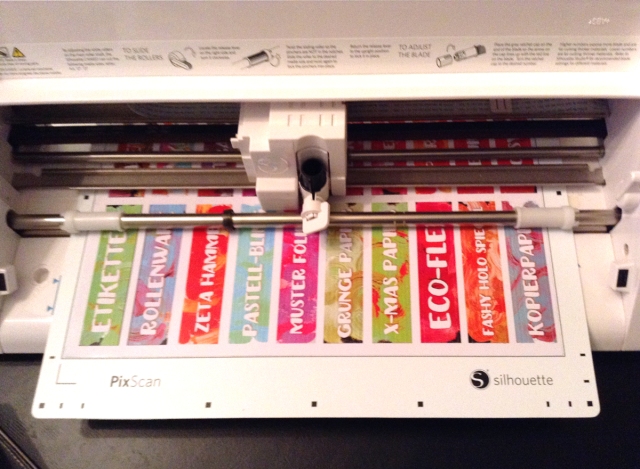
Next I cut 2 pieces with my Silhouette Cameo from faux leather paper (called SnapPap in Germany and similar to the Silhouette Vegan Faux Leather)

ipad-Huelle-snappap

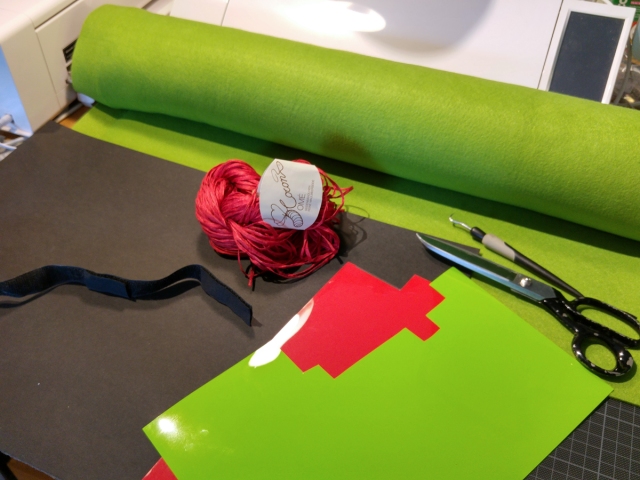
The 3mm thick green felt I cut with the Silhouette Curio with the deep cut blade. Of course it only cut 2mm, but did this very well. This way I had a clear shape, a deep cut line and I could cut the last 1m just with a scissors by hand.

ipad-Huelle-curio

Then I have stitched together by hand all 4 layers through the holes with a big needle and a thick silk yarn, originally meant for knitting, with a zigzag stitching. With the help of two little pieces of Velcro I made a dot to fix with “yes” or “no”.
Now the iPad is well protected when thrown into my handbag and eye-catching when lost in the crafts room mess.
I really hope this works, because I am searching for it too often …

ipad-Huelle1

ipad-Huelle


New year, new order

January is always a month to put things in order for me.
Christmas madness is over, my workshop is one big mess from too much work and never enough time. With constantly adding new products to my shops and a growing warehouse I also had to find a new system. So last week I went through the shops to find those beautiful black boxes, perfect for A4 and letter size vinyl, heat transfer sheets and papers.

Yesterday I was playing in Photoshop what I didn’t do since weeks and was playing with some new resources from designcuts.com (the painted background graphics and the beautiful thick art font). What a relaxing day!

I created some sheets of stickers on glossy self adhesive photo paper, then put them on the PixScan mat and cut them with my Silhouette Cameo®.
This worked perfectly with the blade set to 1.

Combining fun and relaxation with creativity and something useful is what I like most.

Have a great day, too!

Angelika

labeling_black_boxes

stickers1

stickers2

stickers3

Bird Crazy – crazy birds

After a bit of a hard time the past 3 weeks I treated myself with the lovely stamp set from Stampers Anonymous by Tim Holtz. I was extremely happy, that I got them at all in Germany, where we get all new things 1 year later usually.
So just before the weekend I got my little package and started directly stamping and painting. I also got back my good mood directly. I am not much of a stamper, but these little character birds are just too cute and funny and it was so relaxing to sit in the sun messing around with color.

Tracing and cutting with my Cameo worked very well with PixScan. Then today I made some cards for next weeks birthdays, a mix of Cameo-cut words, parts of my own collage sheets and die cut elements out of my Bigshot. Now my workshop is a mess! So I start the new week with tidying up…

Have fun!

Angelika

bird_crazy7
bird_crazy6
bird_crazy1 bird_crazy2 bird_crazy3 bird_crazy4 bird_crazy5

Funny Crea(ture)tive Lettering

Having children’s room decoration in my mind I started to create these letters. It was an in and out of the computer.
I started to print the outlines from this pretty font. Then I have drawn the black and white pattern on it by hand with a marker.
I scanned my drawings and added the pattern back on the computer. I added the eyes and printed the whole alphabet, then cut all the letters and added yarn, threads and wool as hair.

As always you may use this as an inspiration for your own projects (perfect to craft with kids).
Or you can order your custom names from my Etsy store. Please give me 2 days to set it up individually for you. I am offering the personalized names ready printed and cut or as digital download sheets to print and cut them yourself as often as you want.

Ready made custom lettering

Digital download version

animal_letters_making1

Animal letters children's decor names


animal_letters

animal_letters3

animal_letters4

NEW!

New theme, new categories, new social media buttons, new follow by email, new menu, new links…

At last I made it to find a workaround to customize my blog to make it more interesting and more user friendly. I learned that there is a difference between midgets and widgets and I learned to implement the latter. I hope you all find this usefuland soon I am going to start to write about my new projects.

After years I used real pens again and did some hand drawing. It took a bit of time to get into it and I started simple with some lettering.

Lettering